After all the years that I have spent in the synthetic turf industry, I cannot seem to understand why Installers are still not recognizing “Pock Marks” that are left behind from their own hammers?
This month ASK JW will help you understand why “Pock Marks” in synthetic turf can ruin the beauty of your Installation.
Why Are Nails and Staples Successful in the Stabilizing Sections of Synthetic Turf?
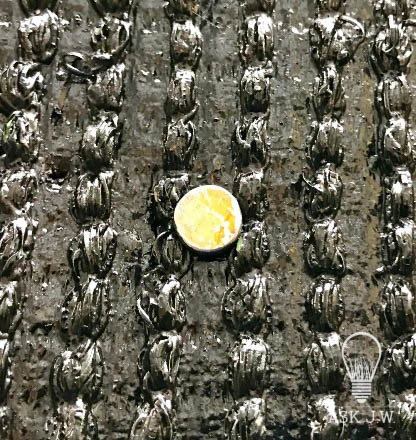
When nails or staples are driven into compacted sub-base materials, the moisture from the materials comes in contact with nails or staples and oxidation occurs. When oxidization starts to form it creates a bond of the nails/staples to the compacted soil. Over time this oxidation builds up (rust) and creates a large segment to bond to the nail/staple. I have seen as much as 2 inches form on one single 5 inch nail. If you have to remove any nails or staples months or years after an installation, be careful not to pull up fibers while doing so.
What Are “Pock Marks” and How Are They Created in Synthetic Turf?
pock·mark – ˈpäkˌmärk noun
a pockmark- a small indentation, pit, hole, or the like.
Hammering nails, staples or spikes seems to be the method used when securing synthetic turf these days. Even though this method has been used for many decades, it seems to me that the frontline installers are not understanding the importance of “clearing the fibers” when hammering these embeds into the base of synthetic turf.
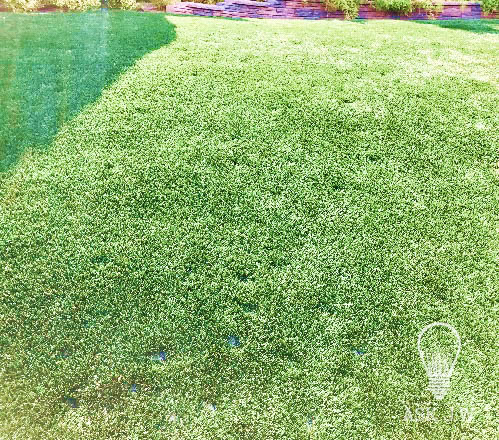
Hammering nails/staples without care will trap the fibers creating a “Pock Mark”.
Hammering the nail/staple too hard into the ground will also cause pock marks.
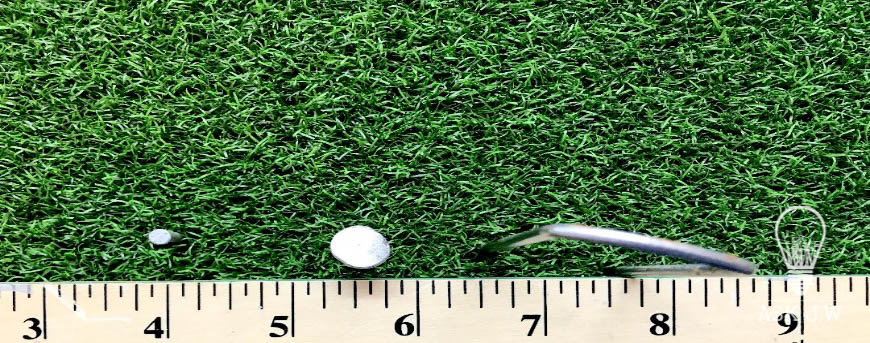
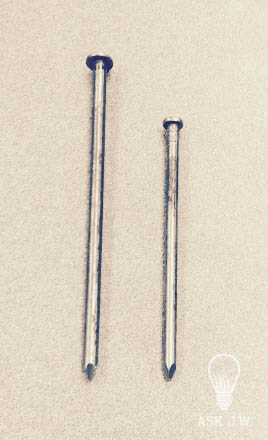
Understanding the diameter of embed is important when avoiding Pock Marks.
The image to the left shows the nail head fitting in between the gauges. These smaller nails are great for nailing seams or edges where bigger nail heads will not work. It is easier to hide a smaller nail head than try to damage the fiber trying to hide a bigger nail head.
It is important to understand how to place nails/staples when securing synthetic turf. When placing nails or staples you must clear all the fibers when burying the nail head. Burying the nail head too deep will also cause Pock Marks.
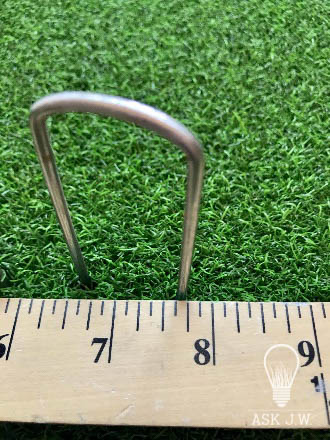
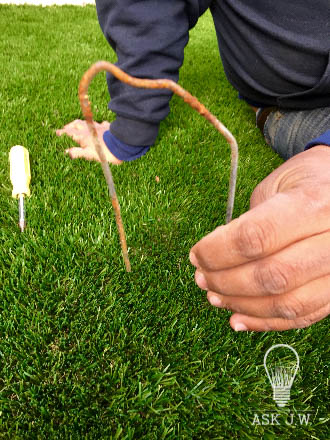
Securing turf with staples can be tricky. If the soil is too hard the staple will bend causing the fibers to flare out and will create a Pock Mark. When placing staples you must clear both sides of the wire and crown of the staple or you will leave behind Pock Marks.
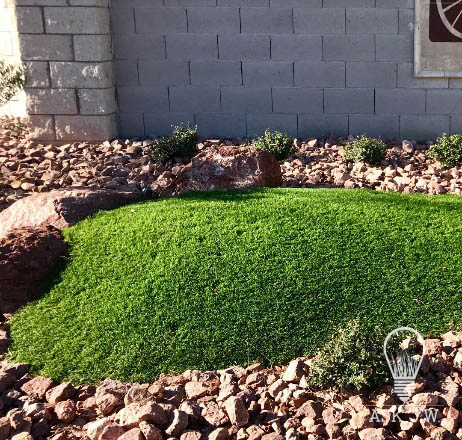
It is very important to hide all nail heads in seams and edges. Pock Marks in seams and edges can ruin a beautiful installation.
When installing putting greens without seam tape and glue, a galvanized finish nail works perfect for securing the edge of the putting green materials. The head of the nail is small and can easily be hidden down into the fibers and can avoid Pock Marks.
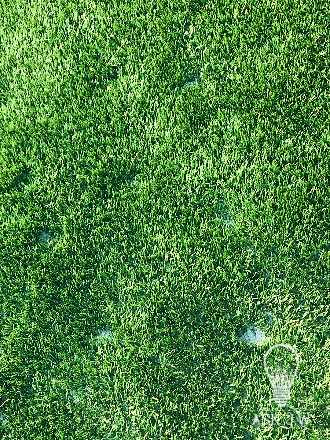
Pock Marks that are left behind will fill up with infill and be very noticeable.
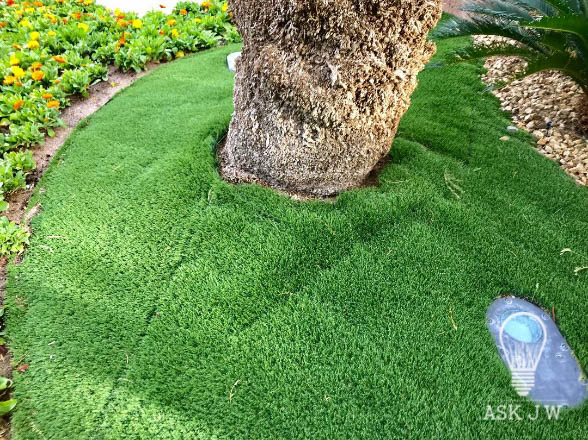
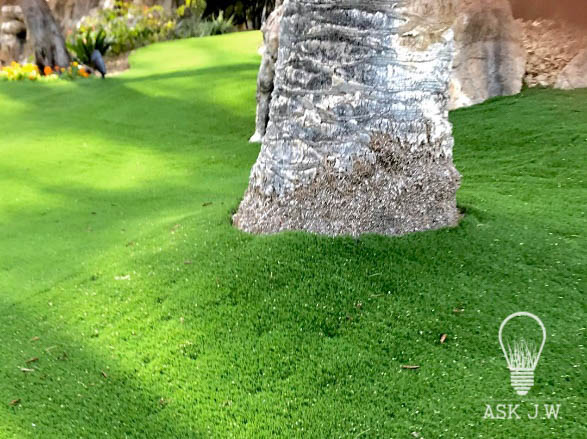
Pock Marks are easy to create when securing turf around trees. The roots and voids can cause the nails to sink creating divots and depressions. Make sure you either place a tree well or hand tamp the subgrade materials around the roots to prevent voids.
Shoddy workmanship and Pock Marks go hand in hand. Don’t be like this guy”.

Teaching your team to be better at securing turf can save thousands of dollars on mistakes that can be easily avoided. Take time and show your frontline how to place nails/staples without allowing them to be visible. Just using a hammer is not good enough, you must be knowledgeable about the gauge size and the nail/staple size to prevent Pock Marks.
For more information regarding Pock Marks, contact J.W.: askjw@sgwcorp.com or call 888.846.3598

