“I forgot to place irrigation to a tree under my newly placed turf, what do I do?”
As I stated in my November 2015 column, trees, plants and shrubs require carbon, hydrogen and oxygen from the air and water to survive. There is little turf installers can do to control how much of these necessary elements plants will receive. Enclosing and placing synthetic turf directly up against a tree, plant or shrub will decrease the tree’s chance of survival. Without a supply of water, it is a definite that the plant will die.


This month I will explain how to place irrigation around a tree after the synthetic turf system has been installed.
Terms to Remember:
- Crown/Flair– The root flare area (also called the crown or root collar) is the area where the main stem tissue transitions to root tissue.
- Roots– anchors the tree to the ground and gathers water and nutrients to transfer to all parts of the tree. They are also used for reproduction, defense, survival, energy storage and many other purposes.
- Canopy – The above-ground portion and collection of individual plant crowns.
- Carpet Kicker – A tool that assists in stretching synthetic turf.
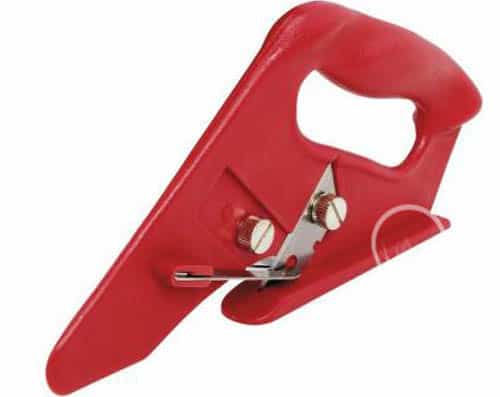
- Push Cutter – A tool used to cut synthetic turf from the bottom backing without harming the turf fibers.

STEP 1:
Measure the distance from the base/crown/flair of tree that aligns with the canopy of the tree. Use chalk or white silica sand and mark the perimeter line around the tree to establish the “cut line” of the synthetic turf. Keep this measurement written down for the next steps until synthetic turf is cut open.


STEP 2:
Take a shop vacuum and remove infill from the turf approximately two feet on each side of marked line. This will allow the synthetic turf to be cut efficiently and will also prevent a ridge or bump to be left after the replacement is done.
*Remember: If the infill is not removed past your working area, this ridge/bump is very hard to remove after the turf is placed back in its original state.

STEP 3:
After the infill is removed, re-mark the perimeter line around the tree just as you did in Step 1. Take a push cutter tool and cut the marked line to open up the synthetic turf. The push cutter tool will cut the synthetic turf from the bottom of backing and will not jeopardize cutting the turf fibers.
STEP 4:
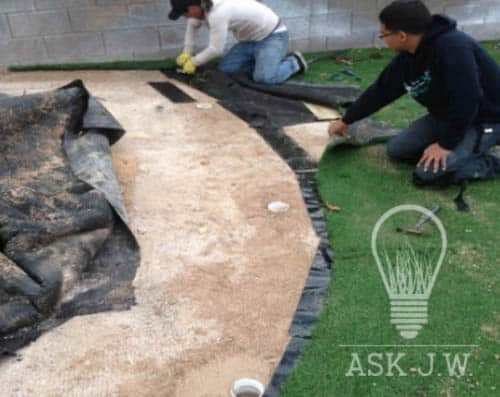
Take both sections and fold them open to allow the subgrade to be exposed for the next steps.
STEP 5:
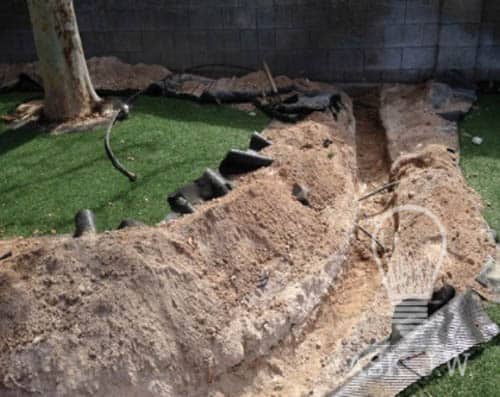
When the turf is folded and open to the subgrade, re-mark the canopy measurement as in the previous steps. Excavate approximately 10 inches and carefully place the excavated soils to the side.
STEP 6:
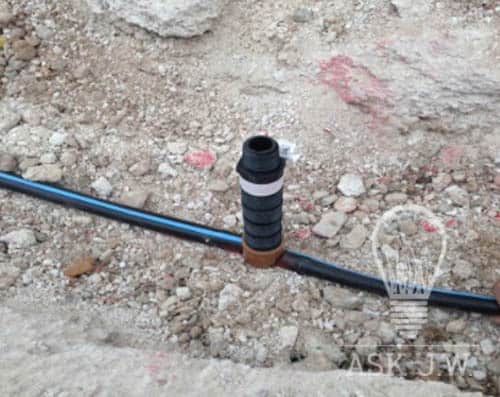
Place newly connected irrigation and secure with staples to ensure the Irrigation heads remain vertical. Test the irrigation for any leaks prior to the next step. Place a collar around the irrigation heads, backfill, and level. The collar will have a cover that will be placed on top after the repair is completed. This will allow for future maintenance and visual inspection of the irrigation heads.
It is important to compact the soils to a minimum of 80 percent–this will ensure the excavated soils will not settle due to foot traffic.
STEP 7:
After the irrigation is complete, fold the synthetic turf back to its original position. Place seam tape at center of seam. Place SGW Superseam Glue and with a carpet kicker join both sections together.
STEP 8:
After the glue is cured, replace the infill and fibrillate the fiber to hide the seam. Place a green cover on top of the collar to allow for an even surface.
Stay tuned for next month’s “Ask JW” column for synthetic grass install tips and tricks! For more information or to contact J.W.: askjw@sgwcorp.com or call 888-846-3598.
