
Greenside Bunkers serve an important purpose in building confidence in your golf game. Practicing bunker shots can not only close the gap on your competition, but prevent bogeys. Most golfers dread landing in greenside bunkers because they never practice hitting out of them. Hitting out of Grass Traps may not simulate natural play, but will build confidence in your swing in accordance to ball trajectory and positioning of the hole. Installing a simple Grass Trap are great for practicing your chips shots without the mess and maintenance of a real sand trap.
This month ASK JW will show you how easy it is to install a Grass Trap and what to expect when installing them.
Design
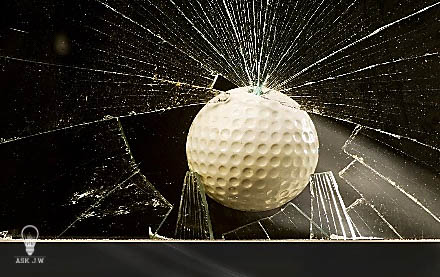
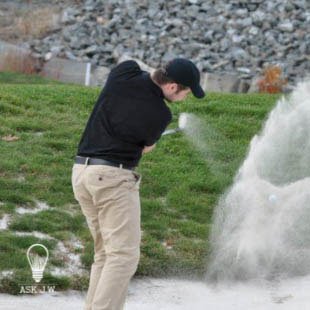
Safety
It is important to think of safety when designing the location of the grass trap. Having a golf ball accidentally fly into your face isn’t something I would want. I recommend placing traps where you have some type of insurance in case you hack it.

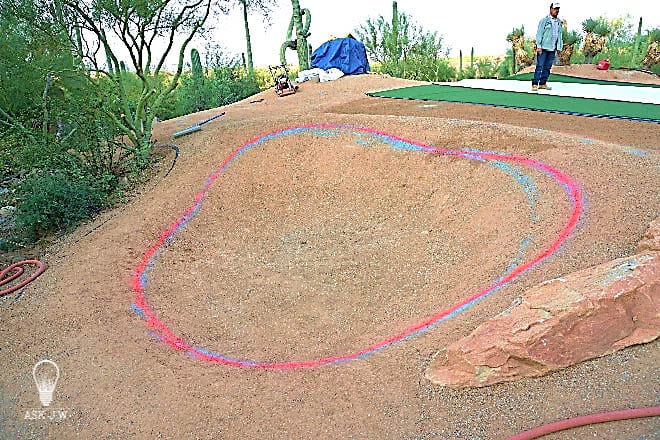
Design for Performance
Most the time shots out of bunkers are driven towards the hole. Placing the trap in accordance to the hole placements is very important.
I recommend designing and building the bunker to “Your games need”. If you want to work on hitting the ball up and over a bunker wall, then you will need to design and excavate elevation change. If having a bunker is only to work on focusing on the motion of your swing, then I would build a simple bunker approximately 1 feet deep.
Ground preparation and compaction is crucial when installing putting green bunkers. If the soil is not stable, shifting may cause failures in the synthetic turf system. A mechanical compactor is a must when installing bunkers. It is important to understand moisture and density when compacting the transitions. Do not rely on the synthetic turf to stabilize sub-standard soils and/or installation.
Drainage

Drainage is very crucial to sand and grass traps. You must use a leveling device when constructing traps. Water run-off can destroy a trap within minutes. If you need to place a French drain or an exit drain from the trap is is highly recommended.
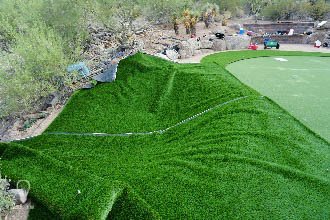
Grass Traps Wrinkles
Before you tackle a large Grass Trap make sure you understand that a bunker whether it be a Sand or Grass is usually sunken into the ground and most are created in the shape of a bowl. Trying to place synthetic turf down into a sunken bowl like surface will create wrinkles. You must have plenty of help, the correct tools and lots of patience.
Lay-Out of Turf Sections
If the Grass Trap is larger than the roll size, then you will need to lay out two sections of synthetic turf and seam together.
I recommend creating an integrated (Superseam) to ensure stability and longevity of the grass trap.
It is best to install Grass Traps when temperatures are warm. This will allow the turf to conform to the compacted design and their will be less wrinkles to deal with.

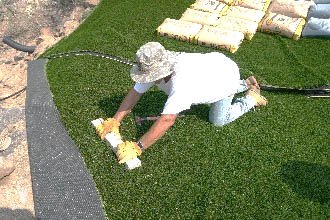
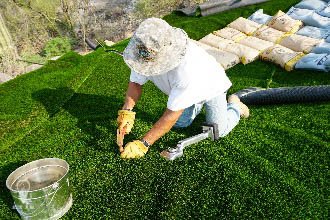
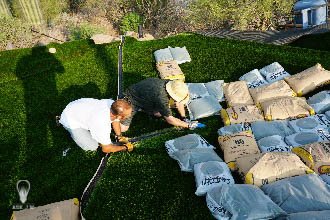
When Grass Traps are deep and the slope is aggressive, I recommend placing bags (sand/infill) on top of the turf as you slide out the wrinkles while securing. Leave the bags laying on top until the surface conforms to the turf.

When Installing Grass Traps, using carpet kickers allows you to stretch the turf, remove wrinkles and secure at the same time.
If the wrinkles are too large to remove, you may have to make “relief cuts” and seam together to ensure the entire Grass Trap is completely flat and secured to the surface.

Once section 1 is contoured and secured to the sub-base, it is time to repeat the previous steps for section 2.

When both sections are in place and secured, it is time to seam tape and glue any relief cuts and any other seams that need to be accomplished.


When the Grass Trap is complete and the exterior fringe is installed, cut out the turf around the drain and place drain cap. I recommend covering the drain cap with masking tape until the infill placement it’s complete. This will ensure that the infill doesn’t fall down into the drain and potentially clogging it.
Infill Placement
Slowly infill the Grass Trap evenly to ensure complete ballast which will settle any minor wrinkles.
Maintenance
Grass traps will need to be kept clean and maintained as much as you play. Grass traps will need to be brushed up to allow for a smooth chip shot. If the infill in grass traps get too low you will need to replenish so that the head of the golf club doesn’t drag through your swing. Sometimes the soils may shift in a larger traps, which may cause wrinkles. You may need to add nails or staples to flatten them out. Make sure you don’t trap the fibers with the nails heads. The infill may need to be vacuumed out to achieve a good embedment.
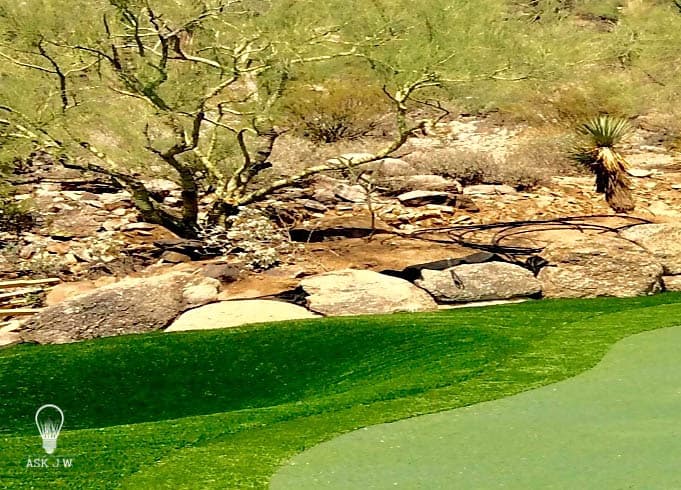
Creating Grass Traps can build confidence in your game, close the gap on your competition and prevent bogeys. Step outside of the box and add grass traps to your putting greens.
JW

If you want to expand your knowledge, JW will assist you and your team in every aspect so you will have a successful experience within the synthetic turf industry
History and evolution of synthetic turf
Manufacturing and synthetic turf components.
Estimating, lay out, and managing waste factors.
Proper sub base materials and compaction.
Installation techniques, tips and tricks.
Infill placement.
Fibrillation
Repairs
Maintenance and cleaning
Trouble shooting
For more information please contact J.W at 888.846.3598 or email AskJW@SGWcorp.com


