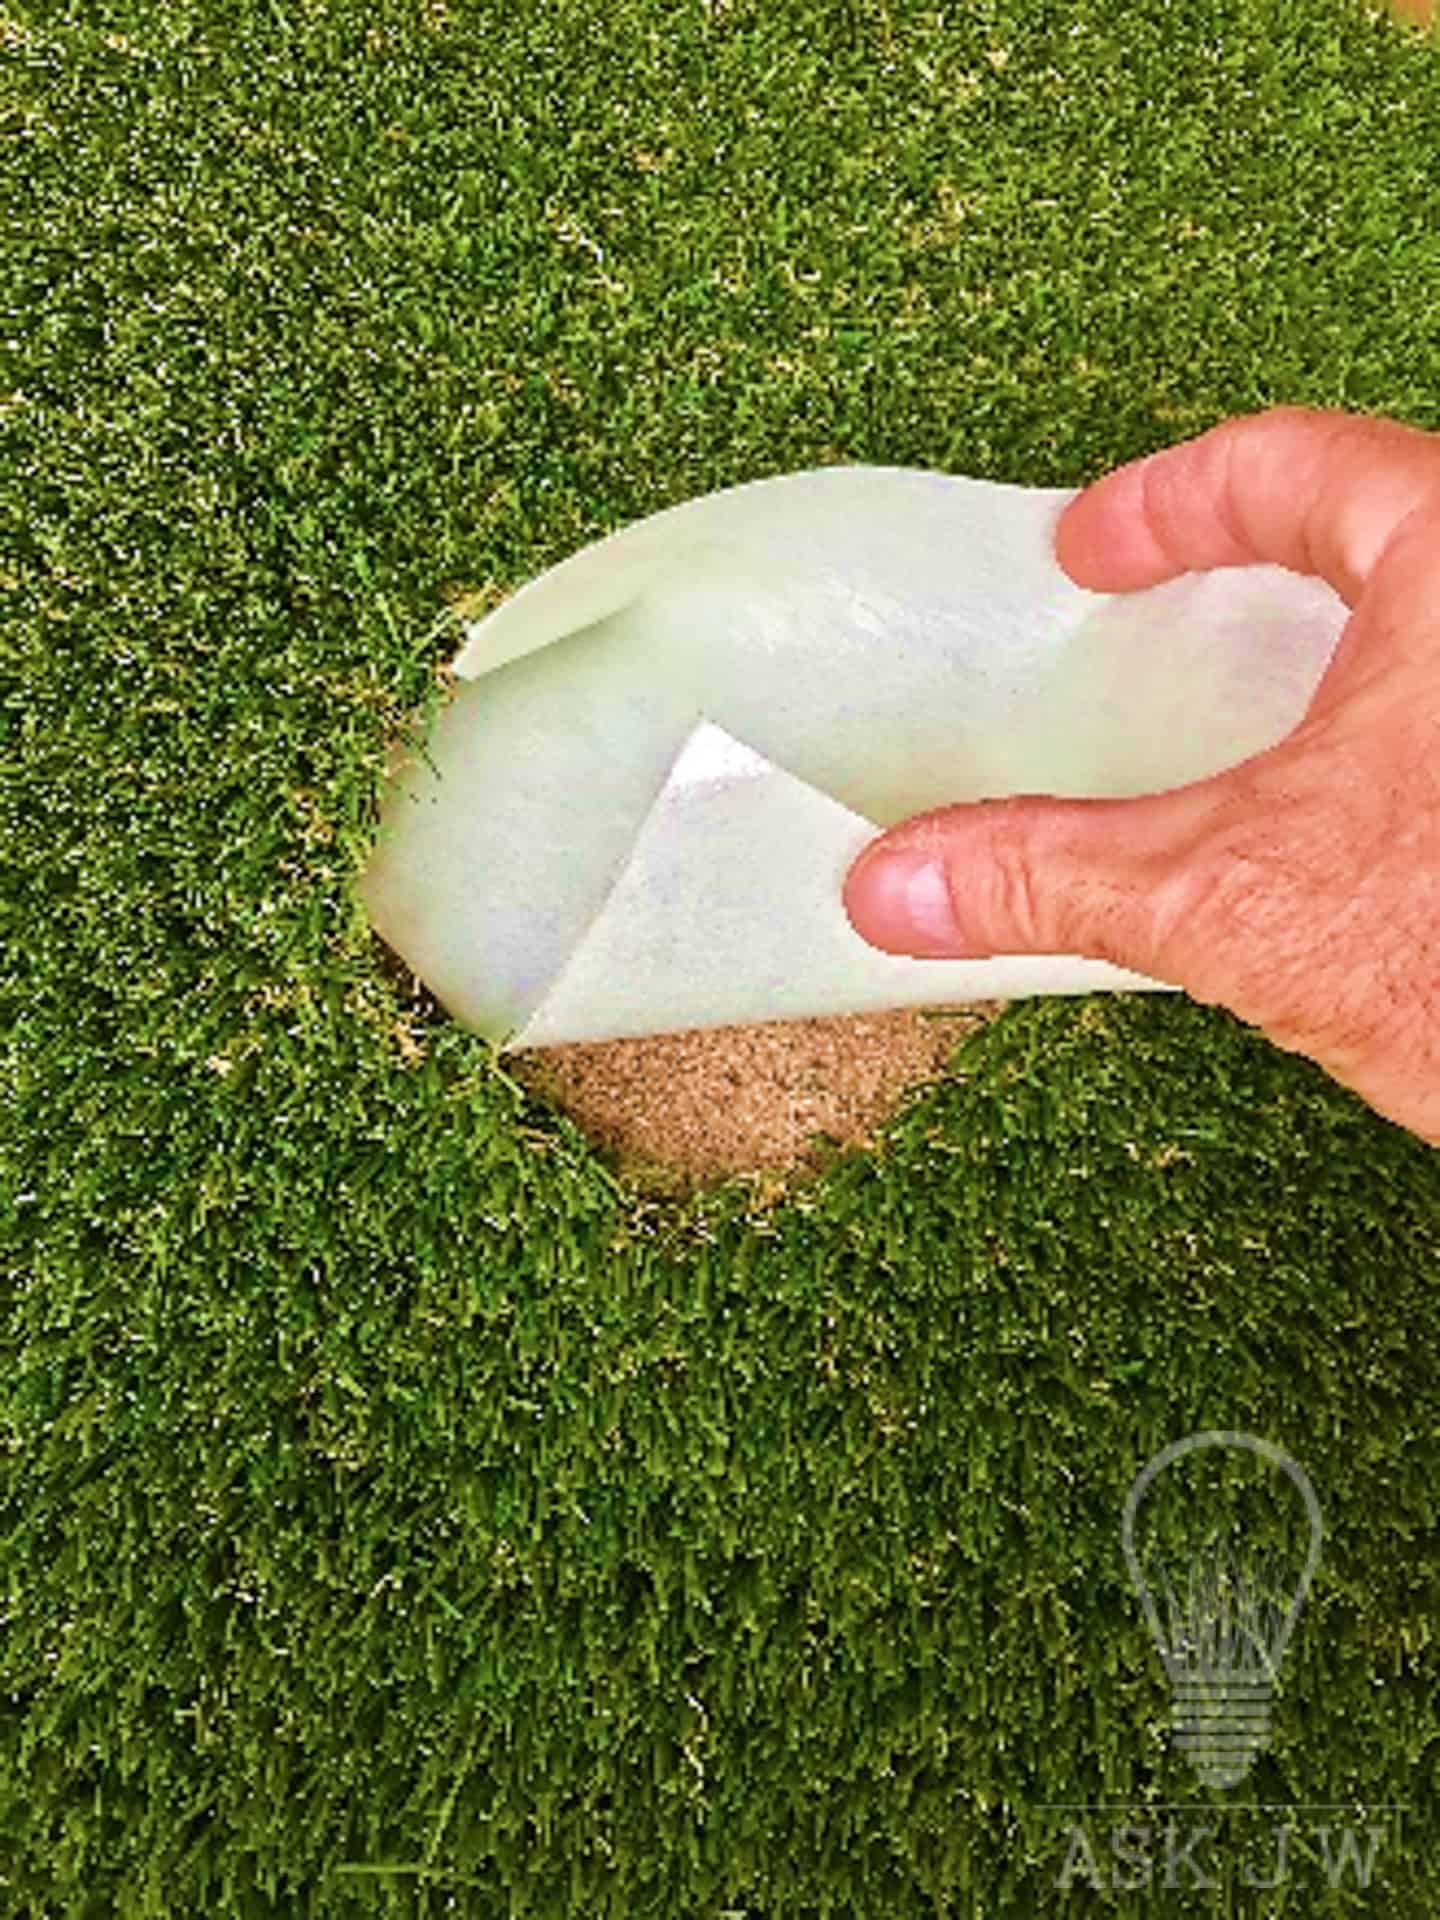
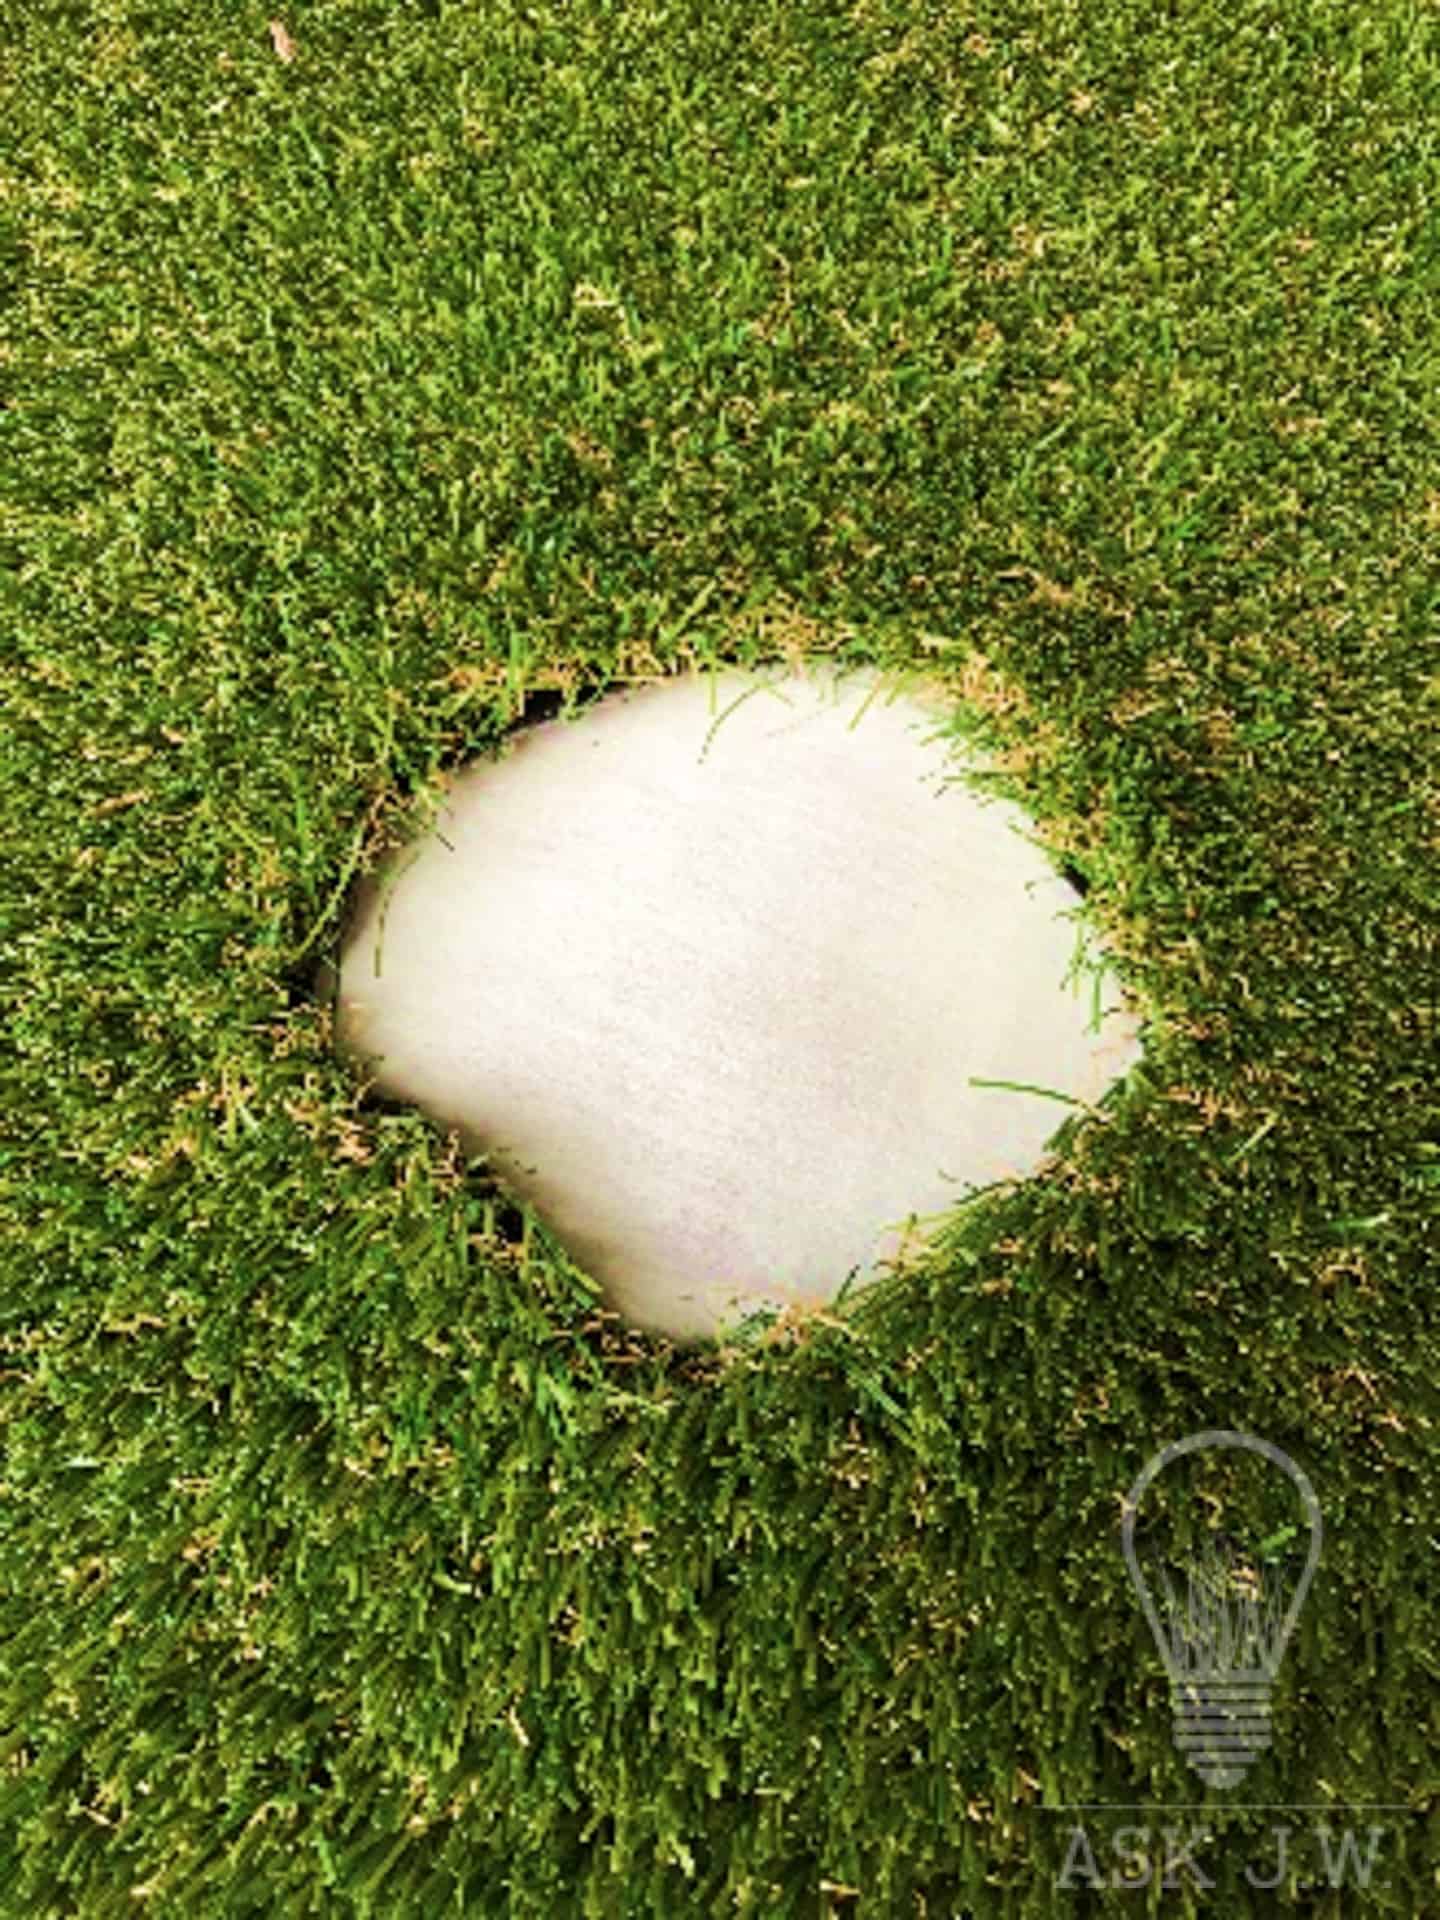
Summer is gone and fall is upon us and with the cooler temperatures arriving, now is the best time to make those unwanted repairs to your synthetic turf. This month Ask JW is starting a new series on “Synthetic turf repairs”.
Repairing burn spots
“A fun night hanging with your buddies and handing out those imported Cuban cigars has left your beautiful synthetic turf with multiple burn spots. Not to worry, it’s not as bad as you think. With the right tools and patience you can keep all those friendships and make those burn spots disappear” … JW
**ALL REPAIRS SHOULD BE REPAIRED WITH SAME DYE LOT OF SYNTHETIC TURF TO PREVENT MISMATCHING IN COLOR**

Step 1.
Locating the direction of the “gauges” is the first step in repairing any sections of synthetic turf. The gauges are the rows of tufted fibers that are manufactured into backing of the synthetic turf. It is important to locate the direction of the gauges so that the replacement piece that you are installing will run the same direction. Make sure the fibers are facing the same direction as well.
Step 2.
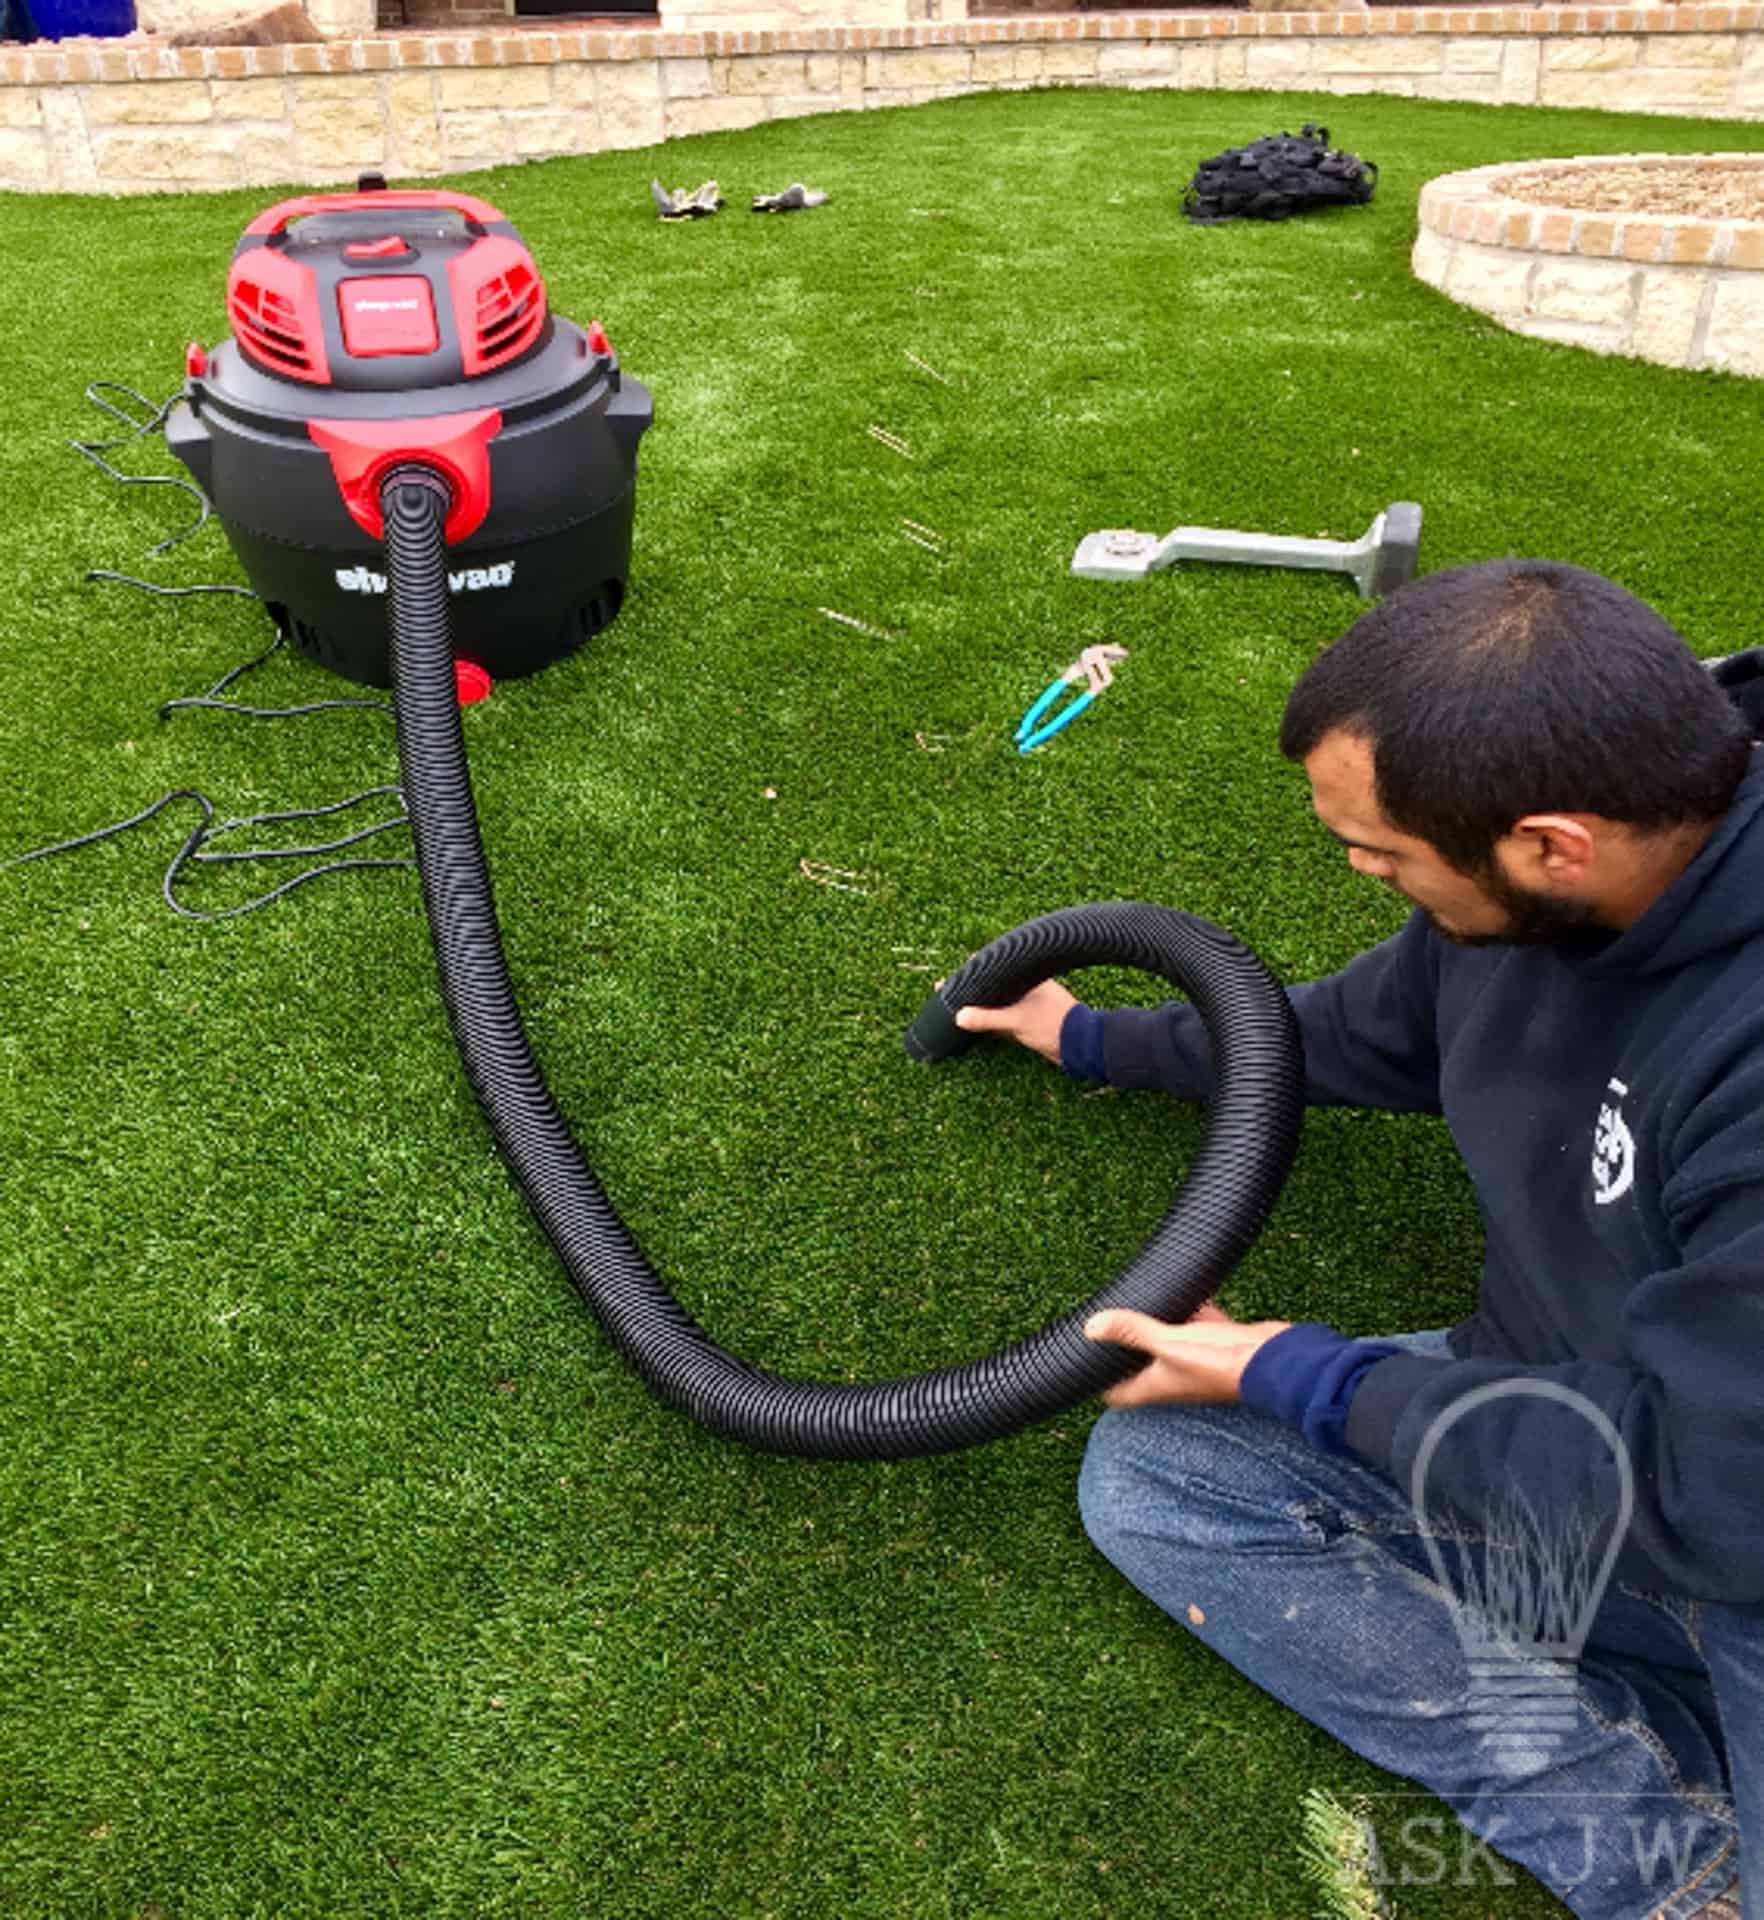
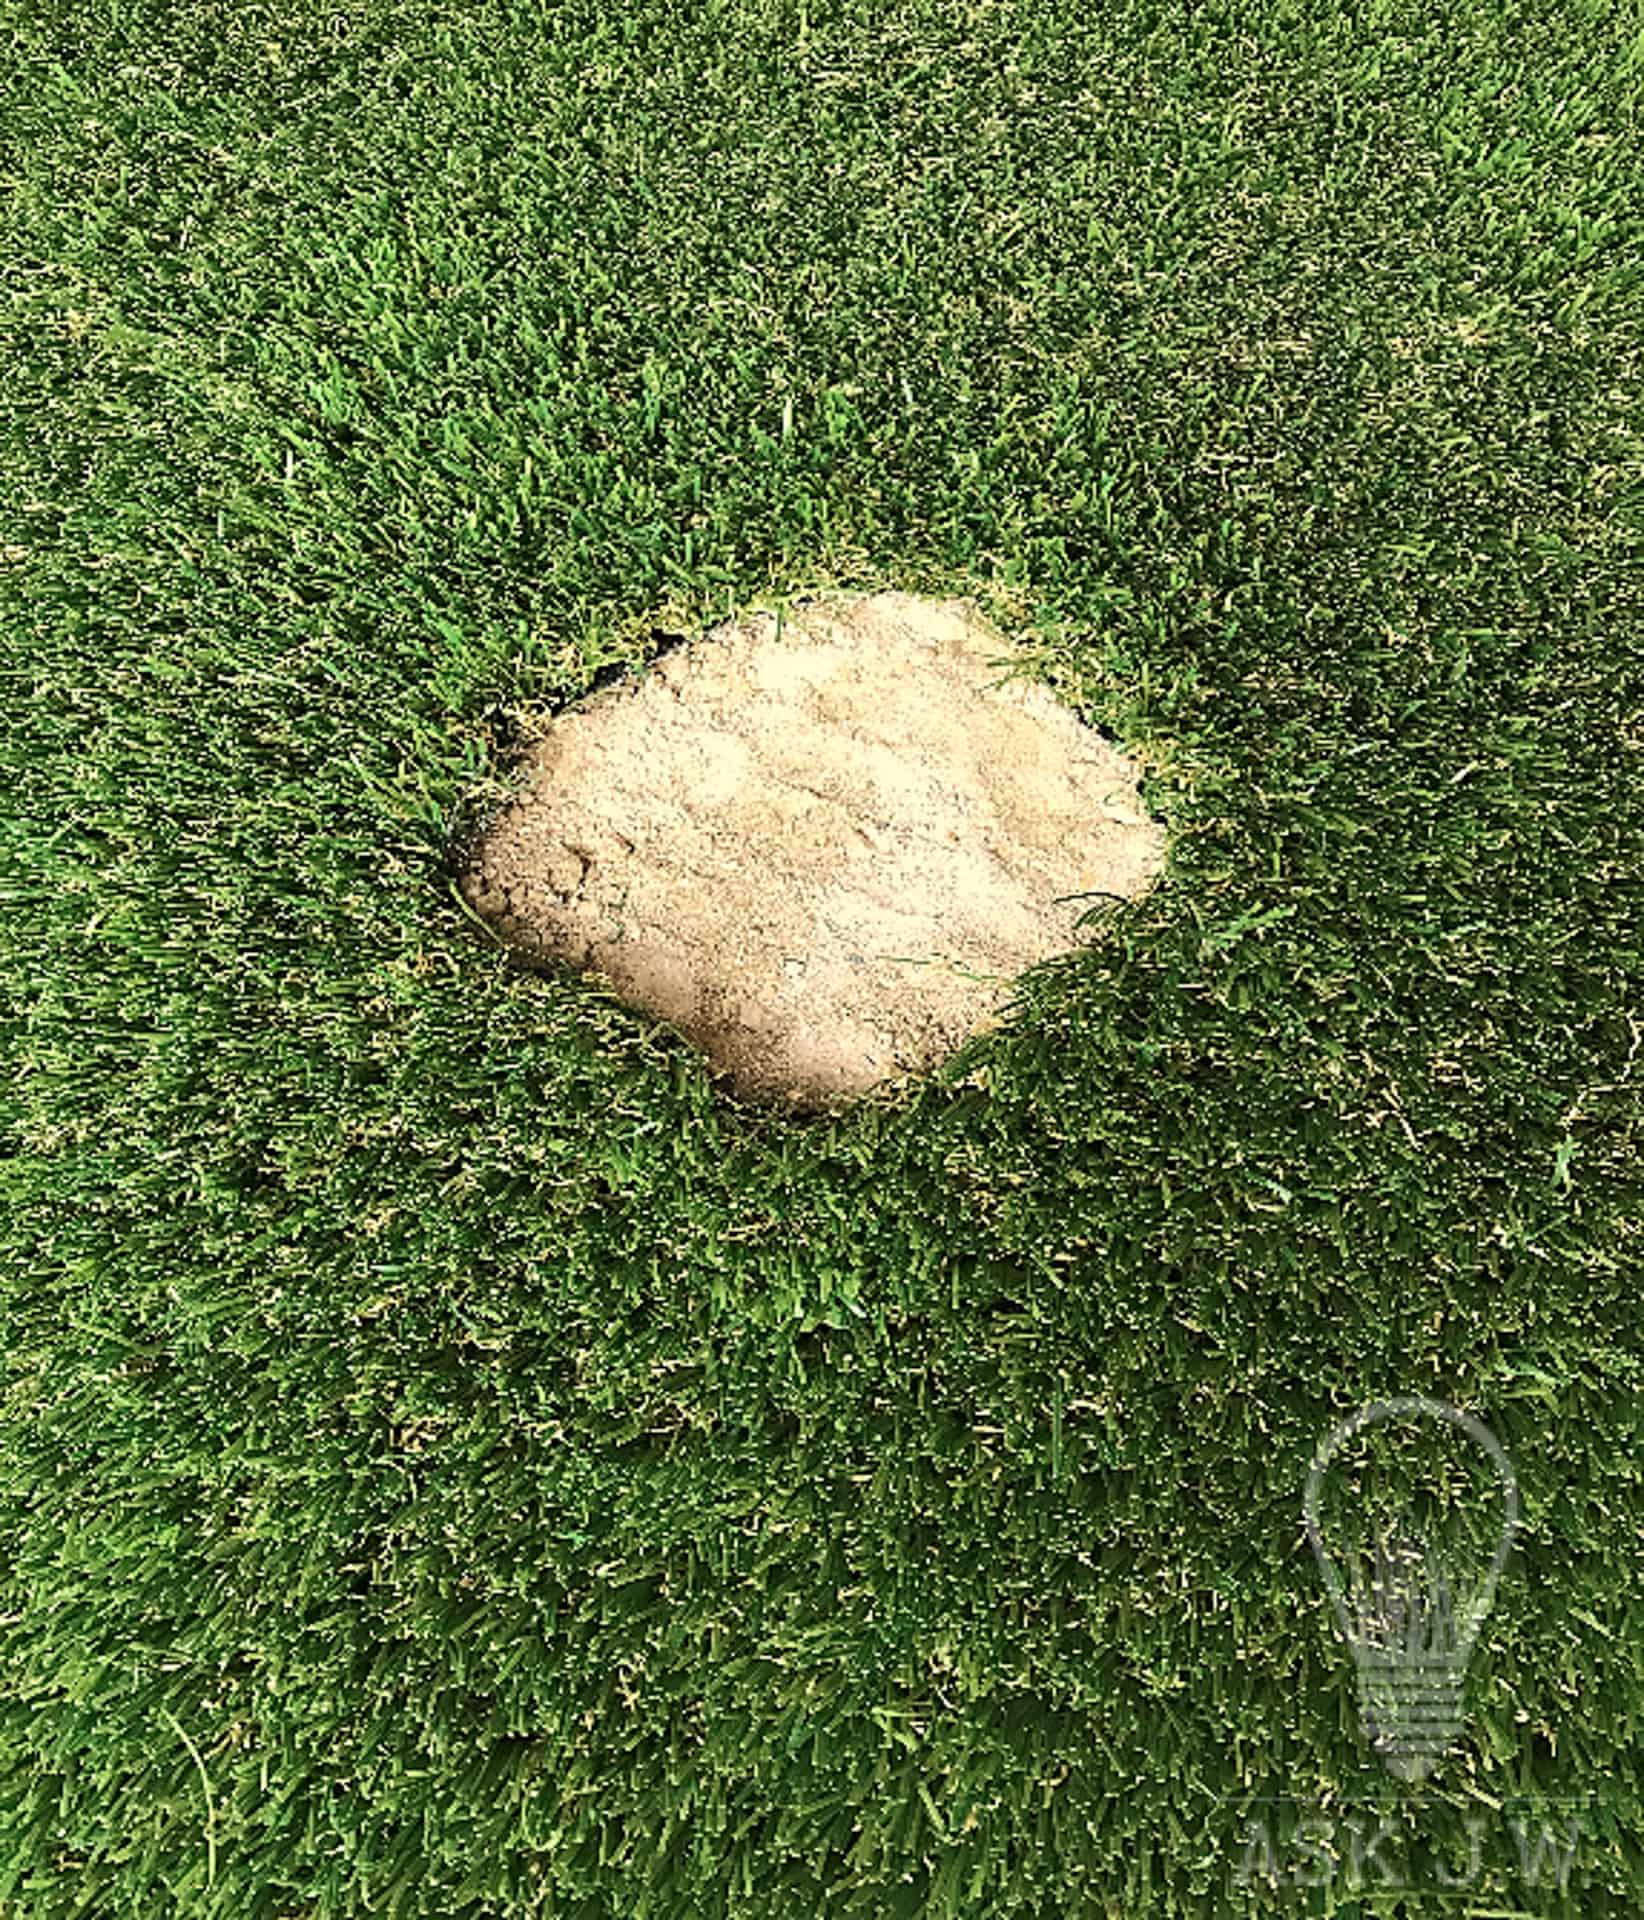
It is best to vacuum out all infill prior to repair. Removing the infill will cause the backing to be exposed. This will allow the initial cut to be precise.
Step 3.
Separate the fibers at the cutting point to ensure you are cutting the backing of the damaged piece and not the fibers. Take a sharp razor knife and cut the base of the backing to the synthetic turf and remove the damaged spot.
Step 4.
Cut a piece of synthetic turf seaming tape, fold into a tube and shove it under the backing of the synthetic turf. Unfold and place seaming tape center of the repair and secure with small nails. If the damaged spot is large in size then use as much seaming tape as possible. A good repair gives stability and longevity through harsh weather conditions.
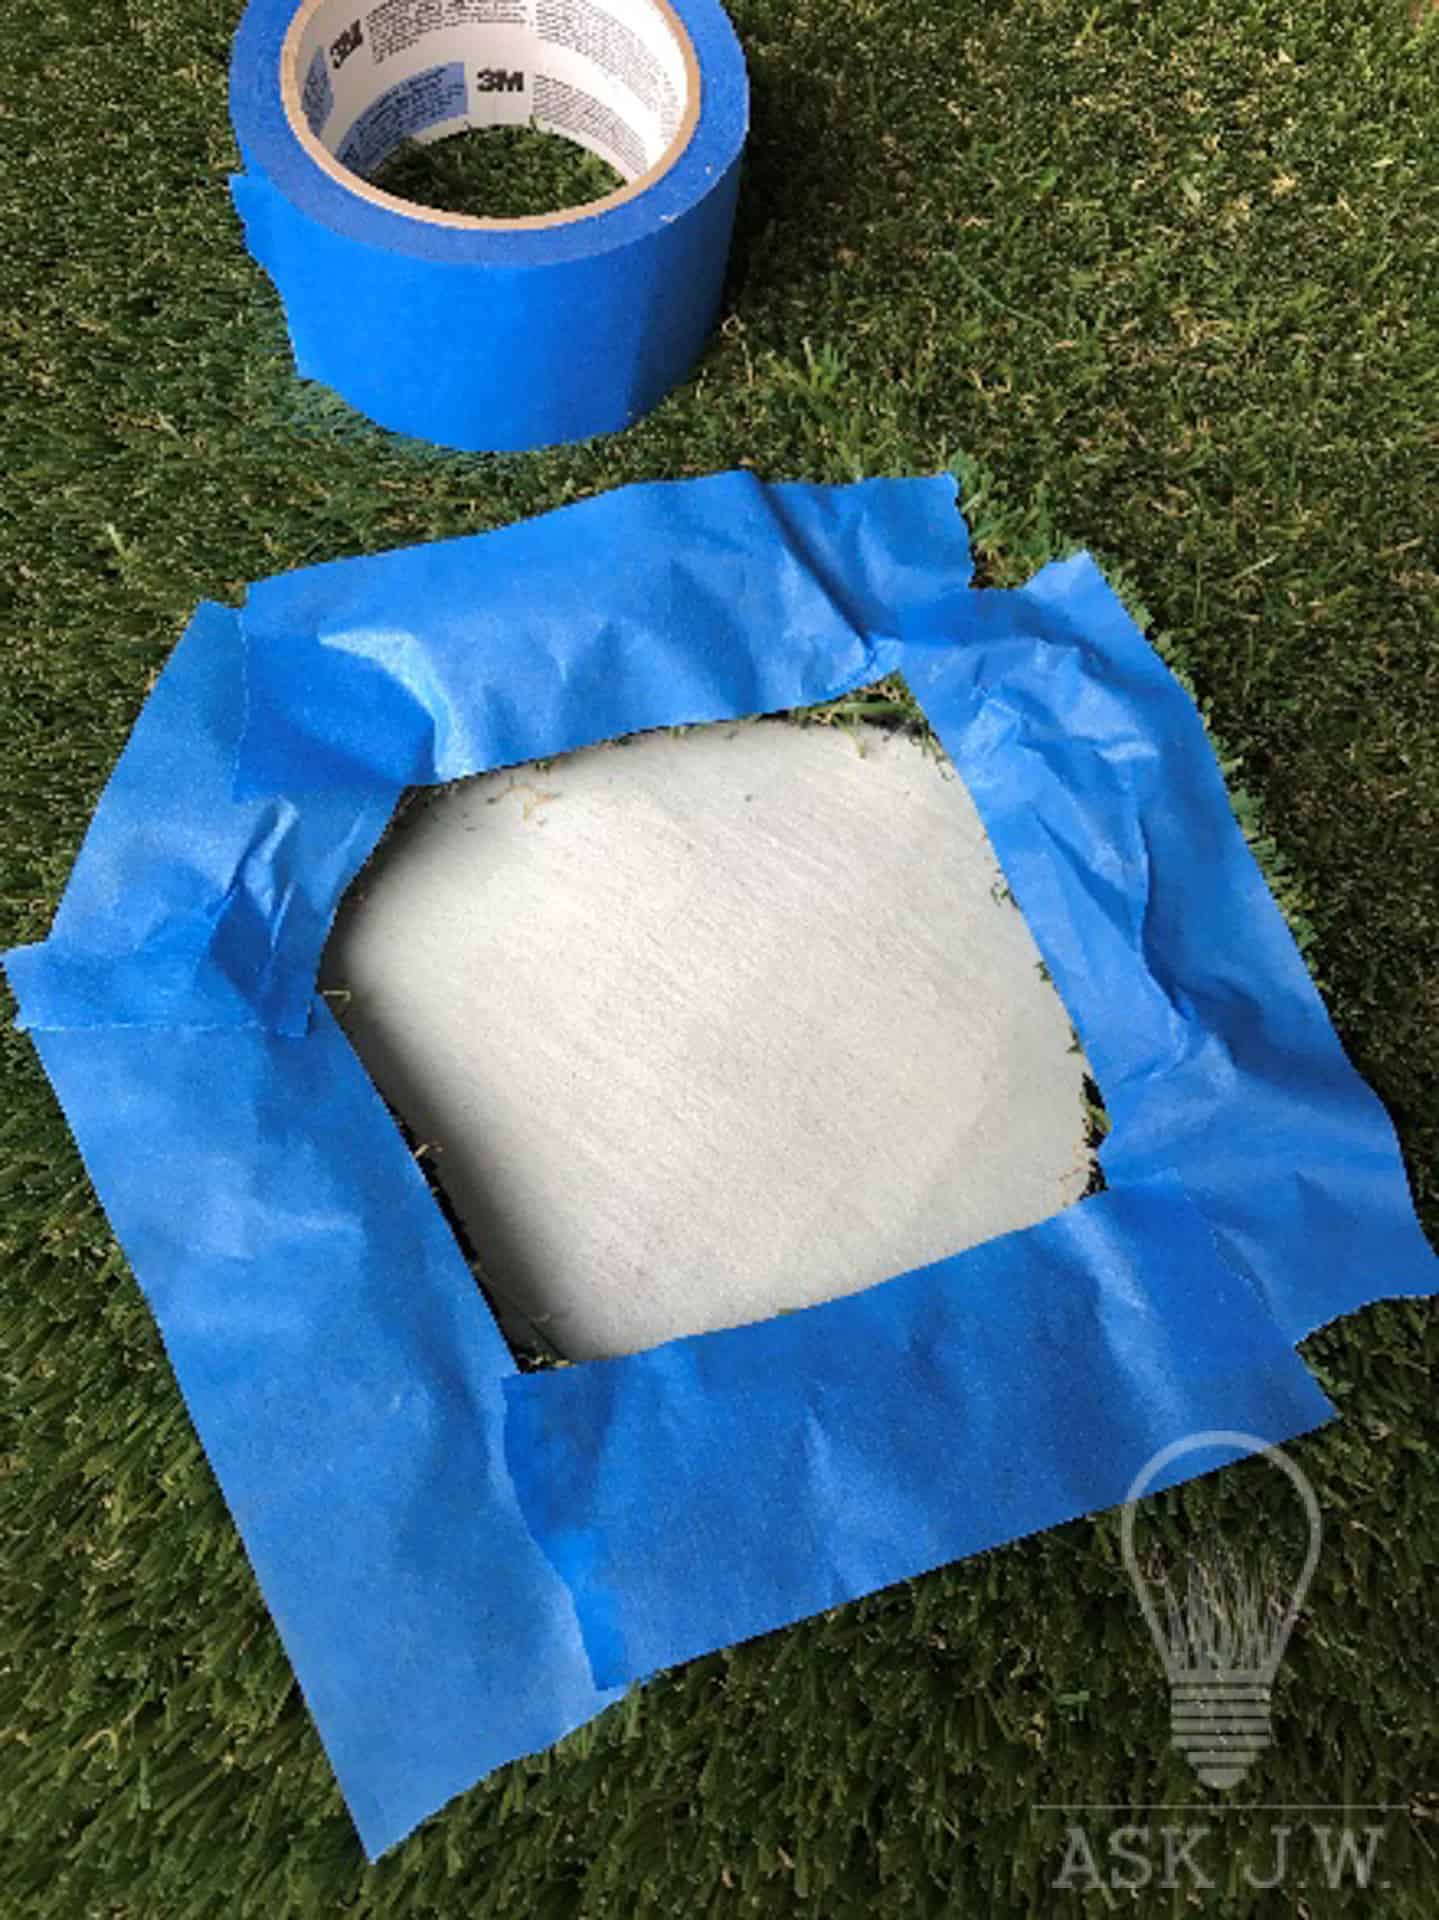
Step 5.
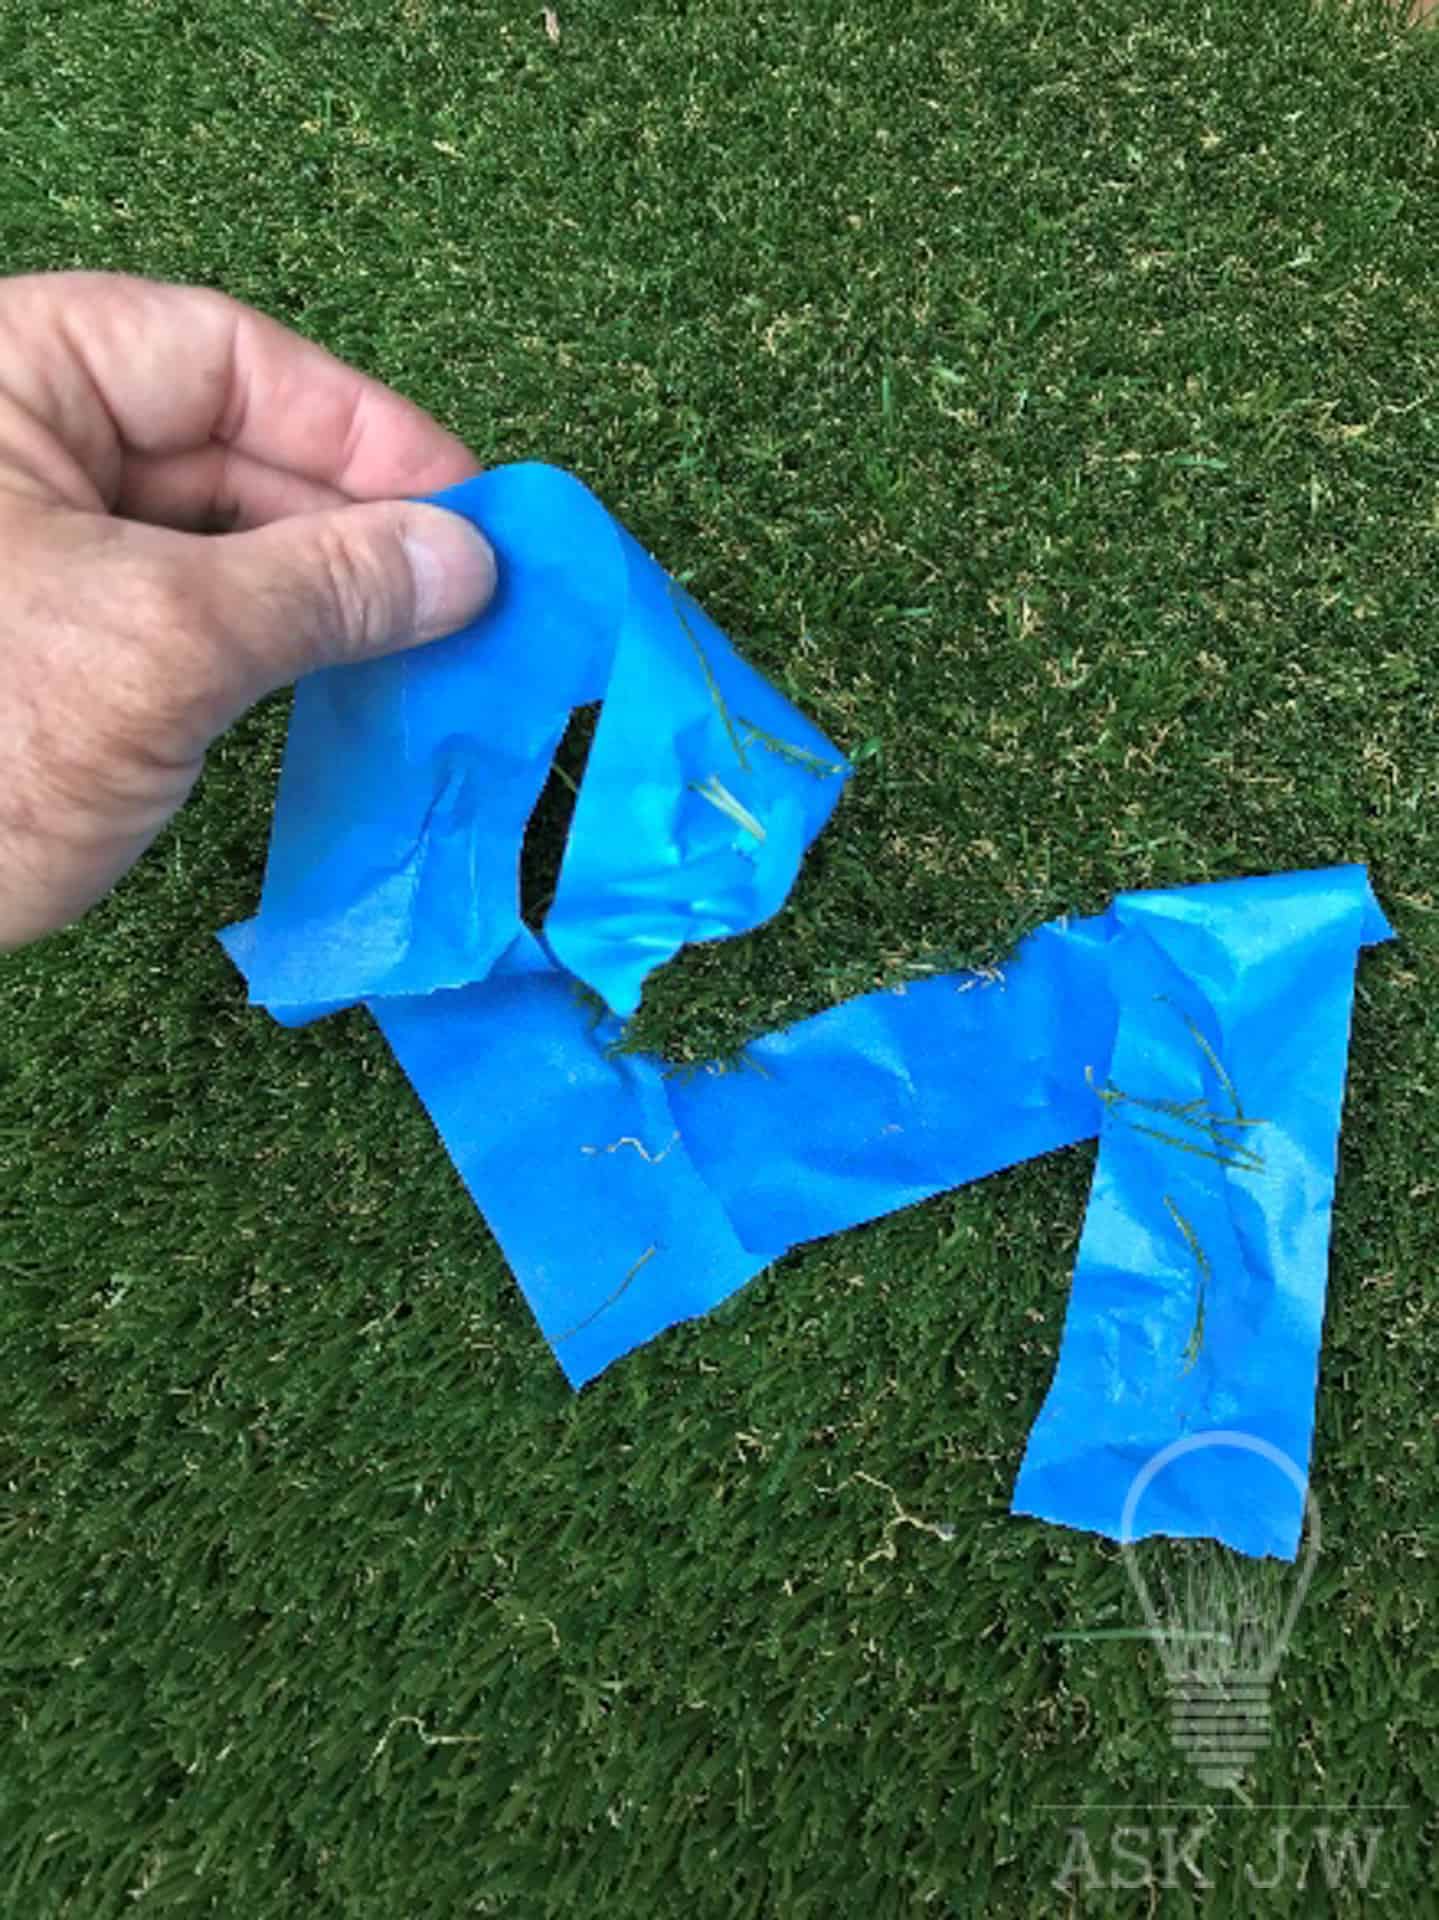
I recommend using blue painters tape and tape the fibers back to prevent adhesive from getting onto the fibers. This will also allow easier cutting of the new piece to be adhered.
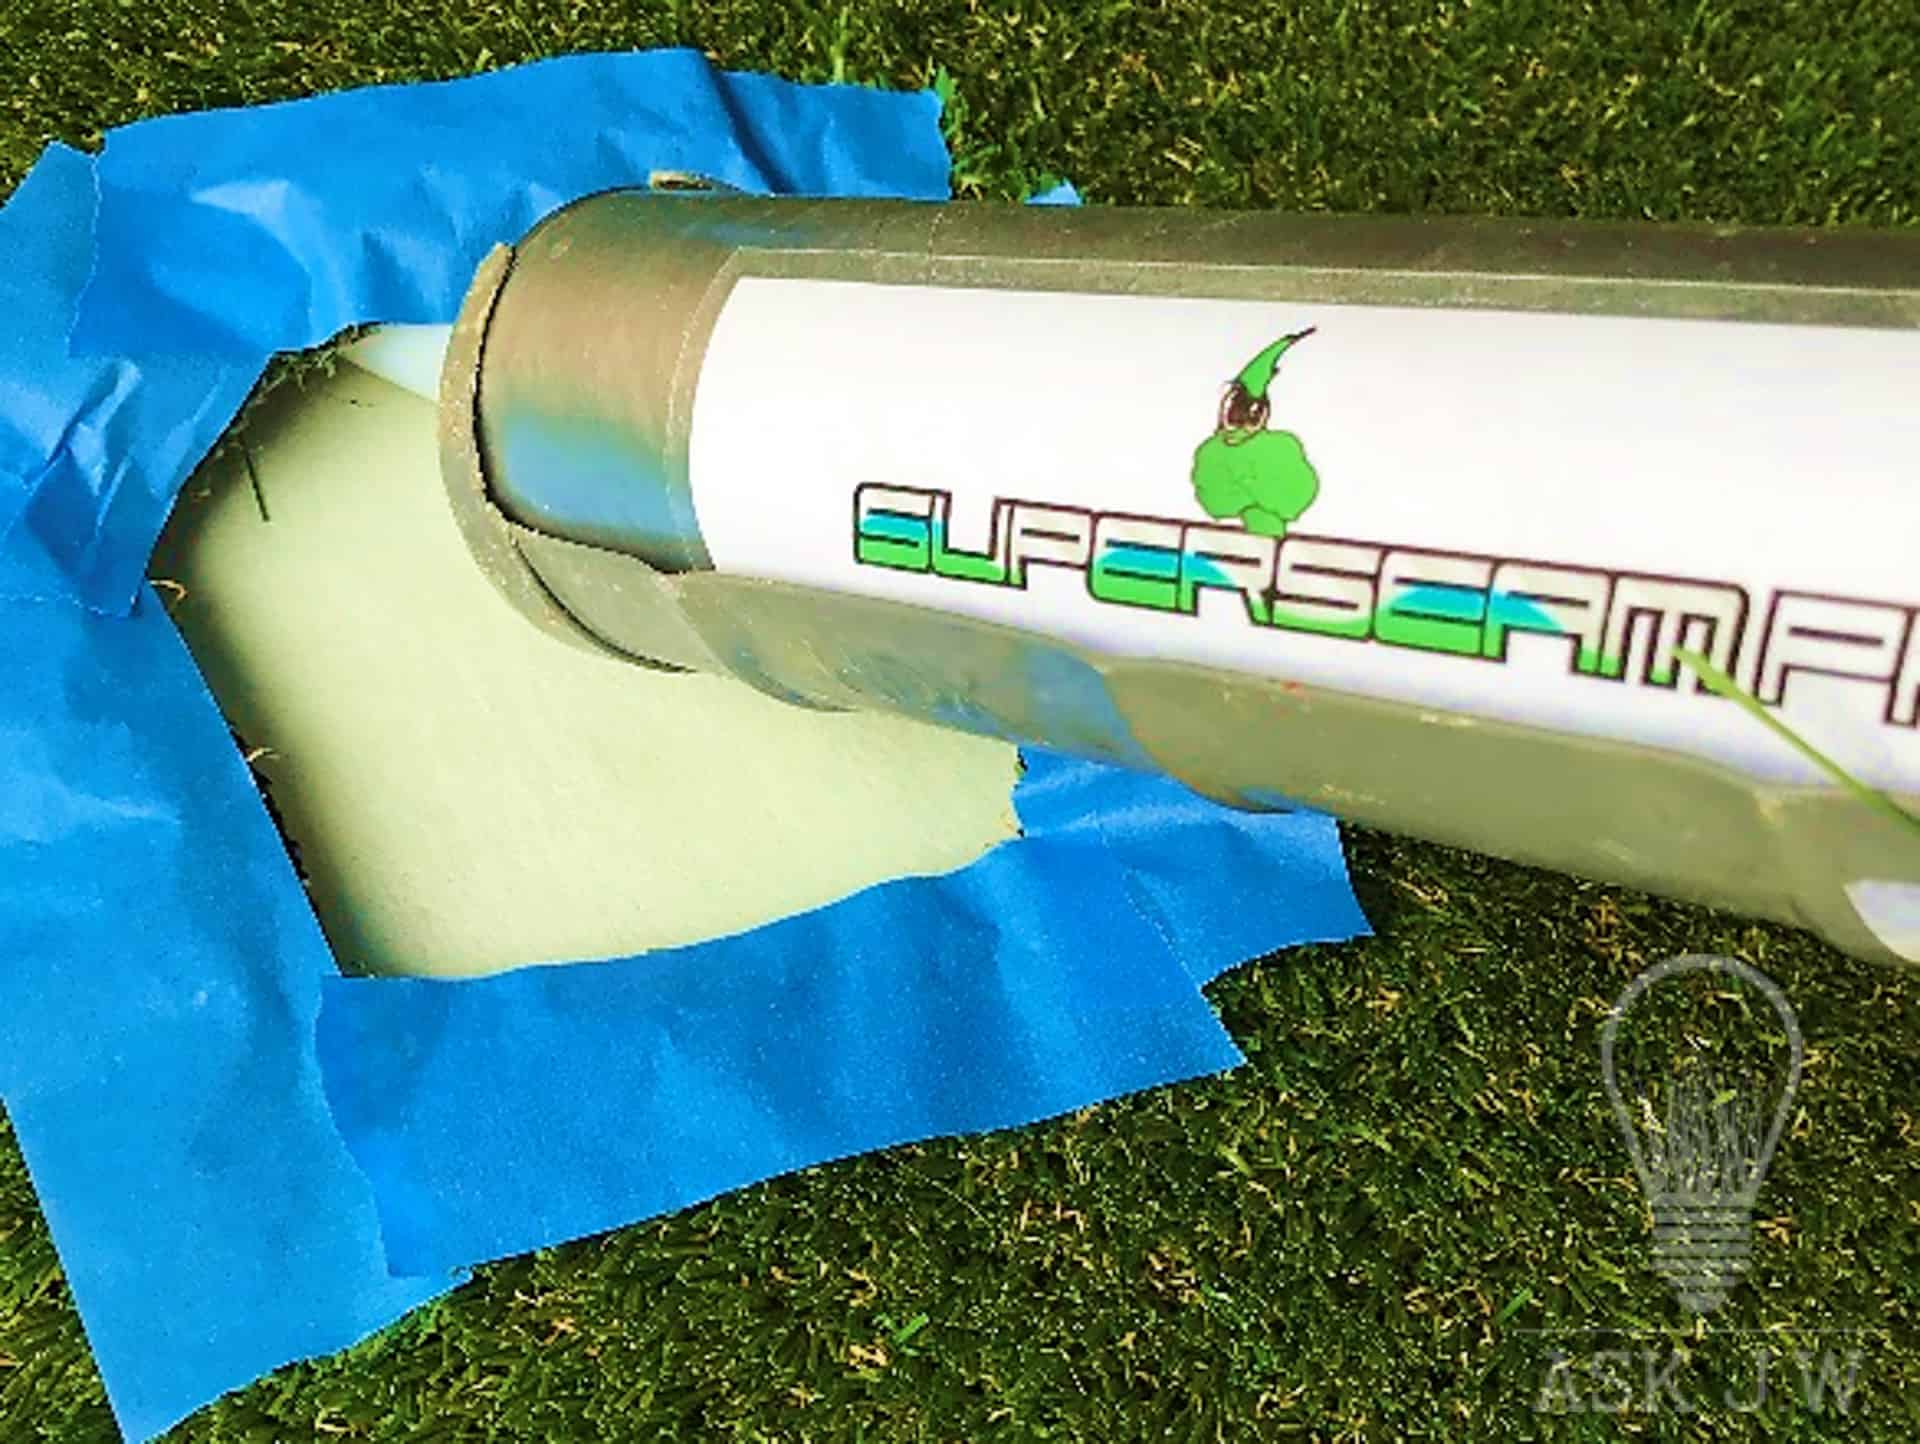
Step 6.
I recommend using SGW Superseam Pro Adhesive that comes in a 29 ounce cartridge tube. This makes the placement of adhesive efficient without a mess. SGW Superseam Pro Adhesive when installed properly is guaranteed for the life of the seam.
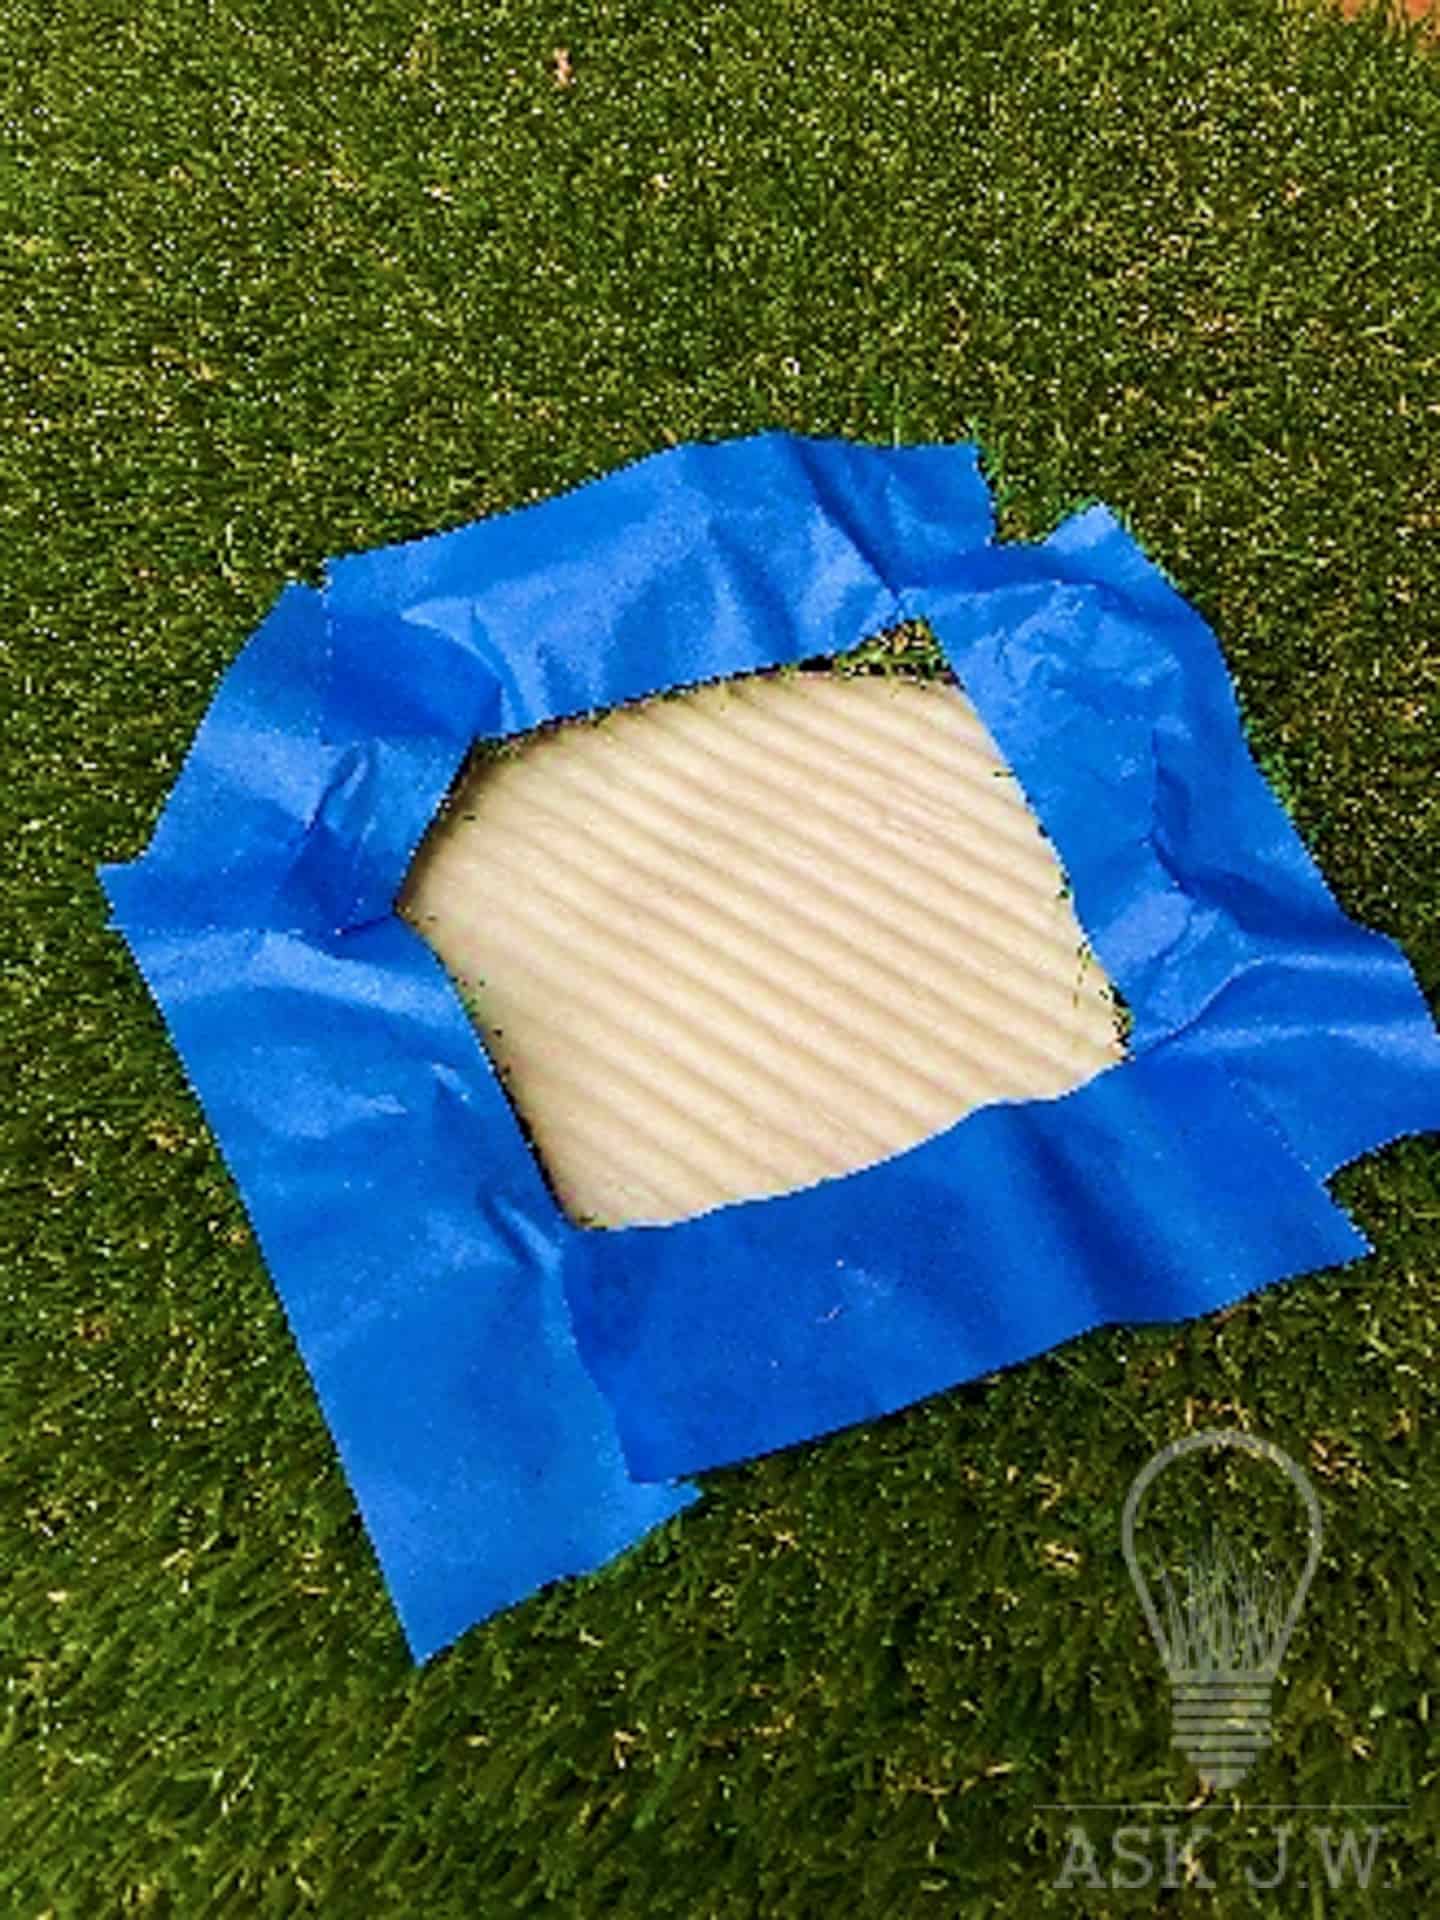
Step 7.
Using a 1/8 inch small trowel spread out adhesive evenly on the seaming tape and underneath the backing of the existing synthetic turf to ensure a strong bond.
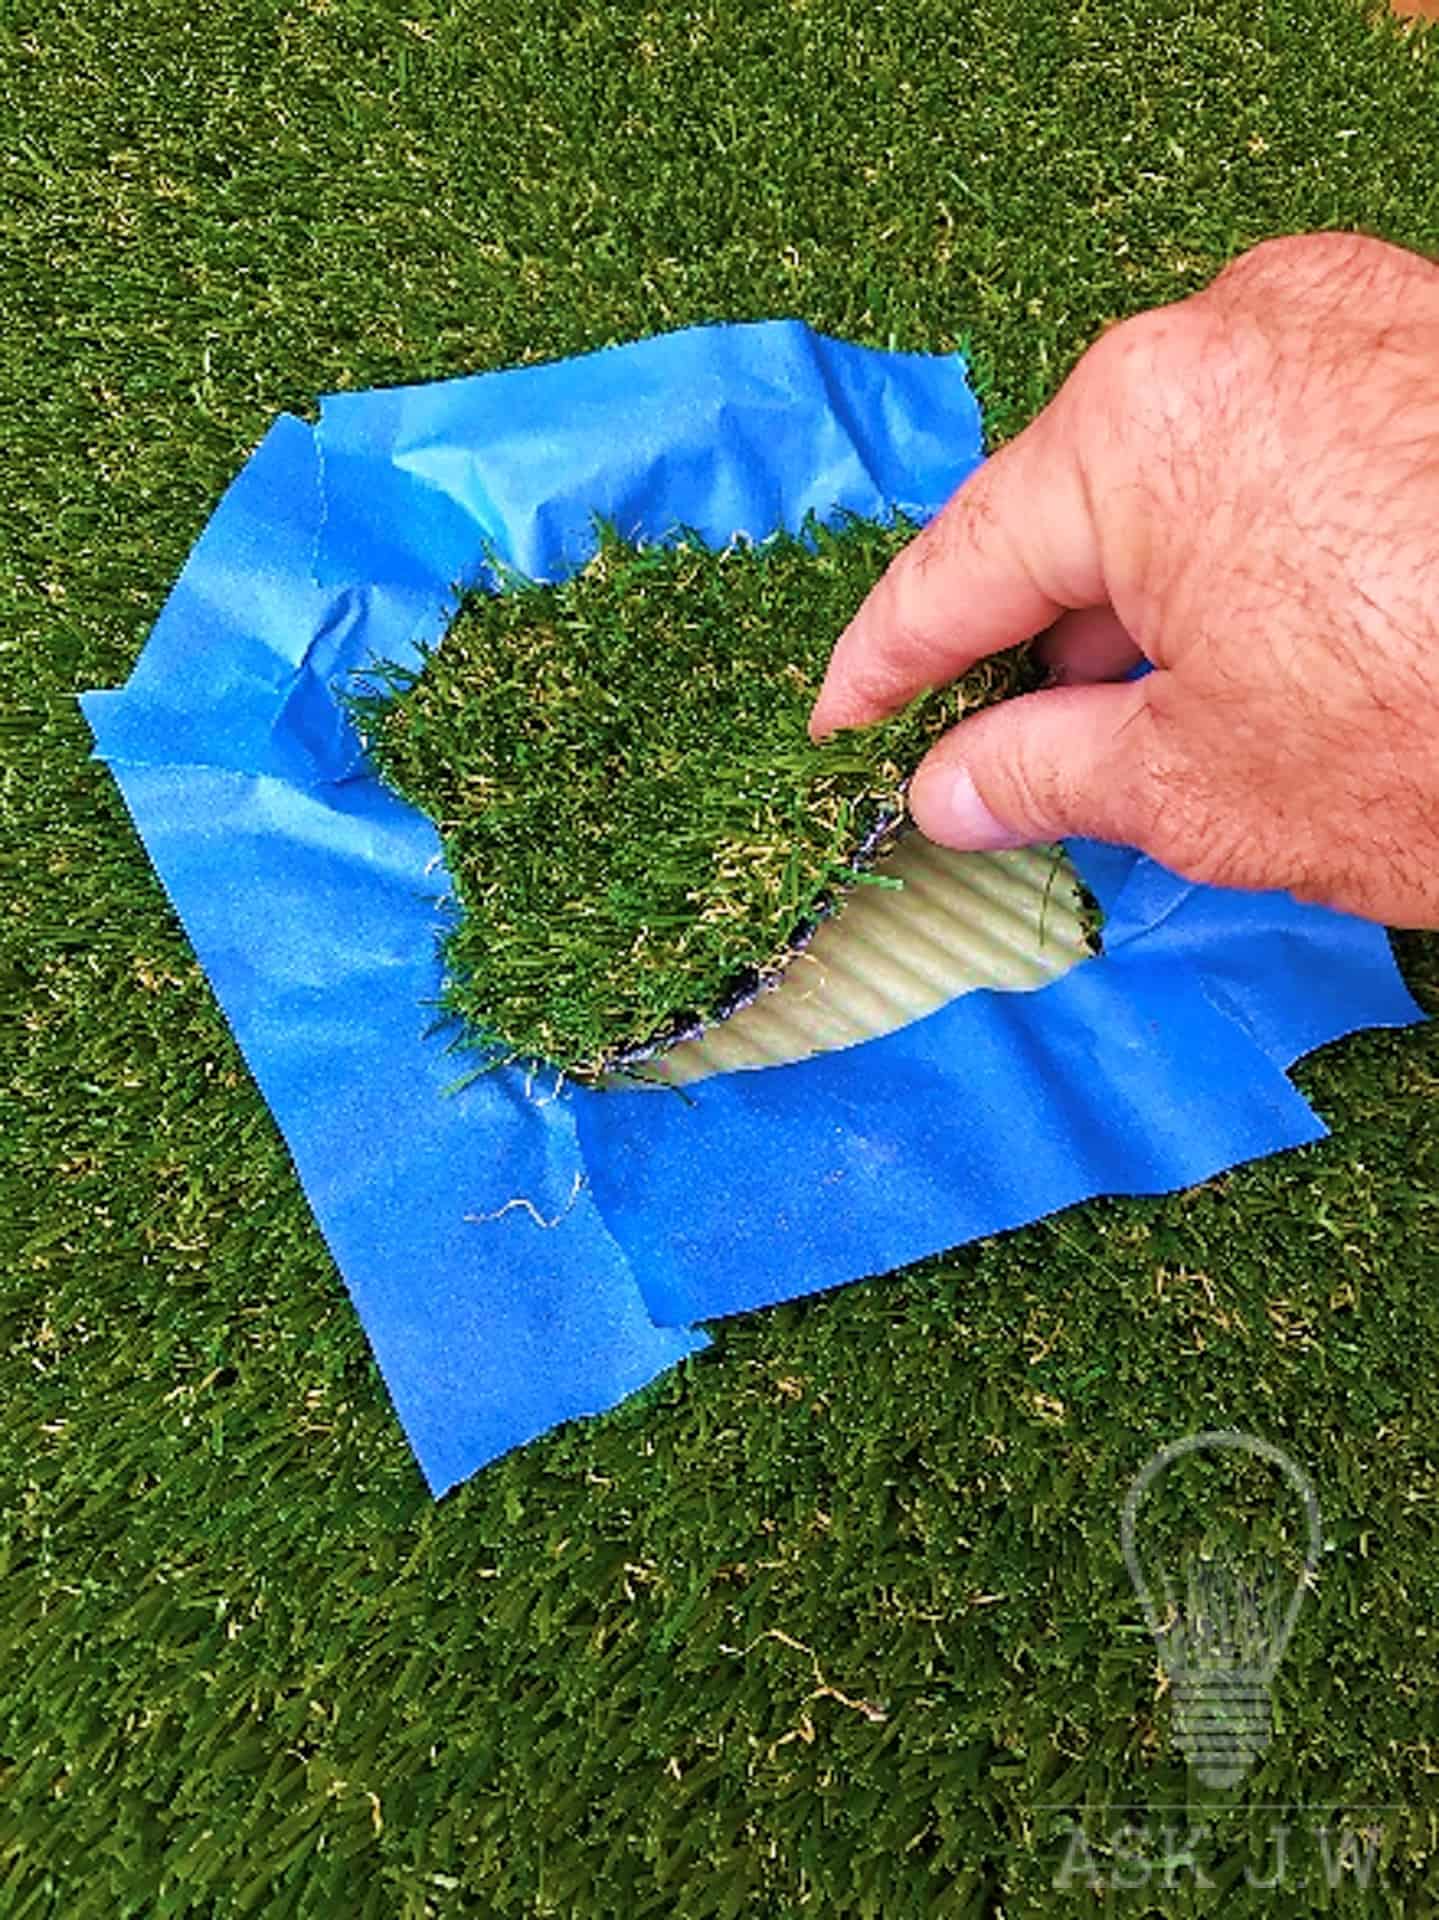
Step 8.
Carefully fit the precut replacement piece and compress to ensure that the adhesive is compressed up and between the gauges.
Step 9.
Remove the painters tape and secure repaired piece with a 50 pound bag of infill or minimal weight until cured. Check the repair periodically to prevent excessive adhesive rising to the surface.
Step 10.
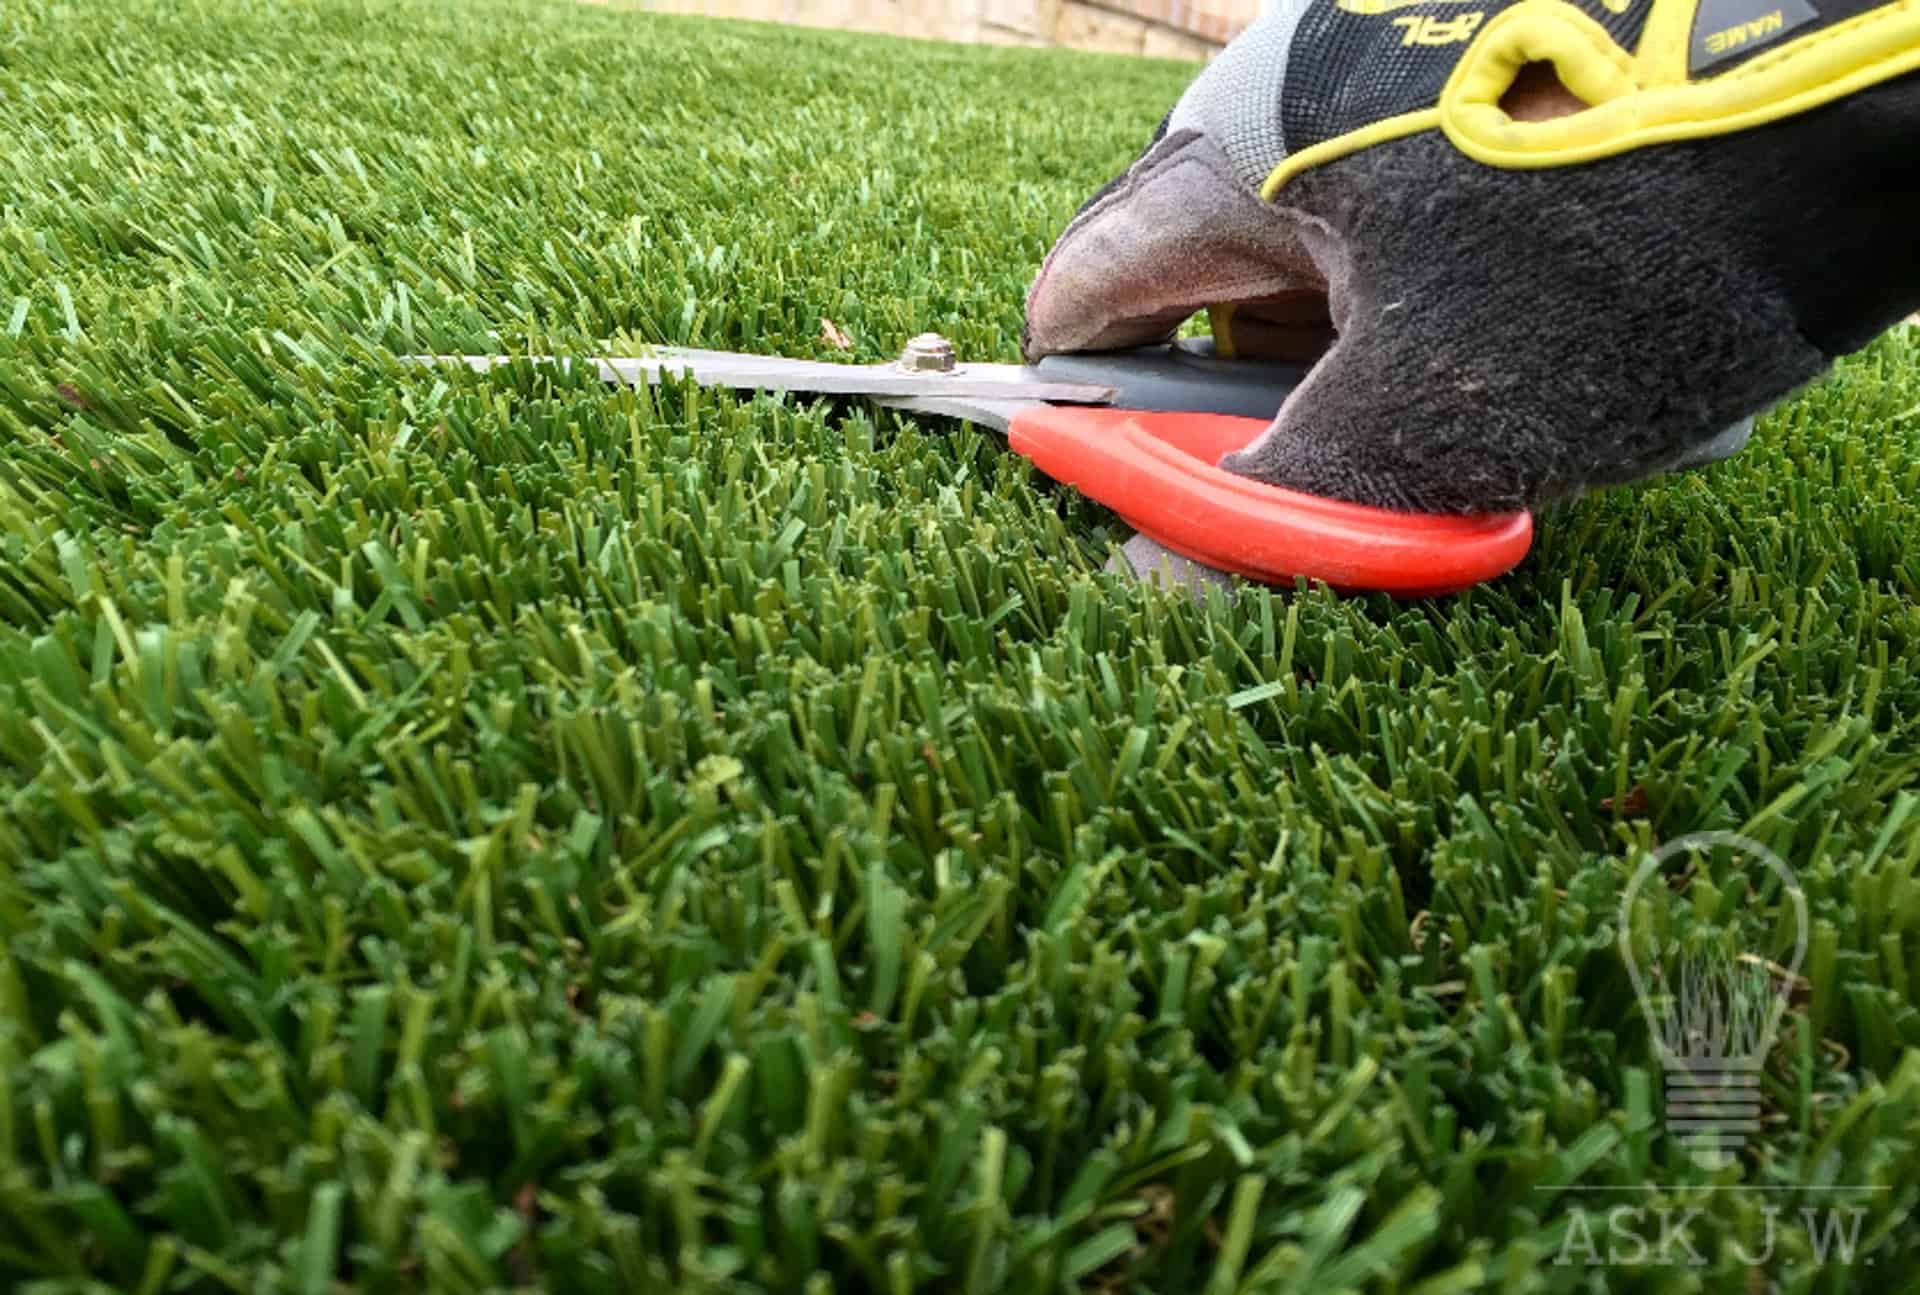
Final Grooming; Take scissors and trim the excess fibers at the perimeter of the repair to blend with the existing synthetic turf.
Step 11.
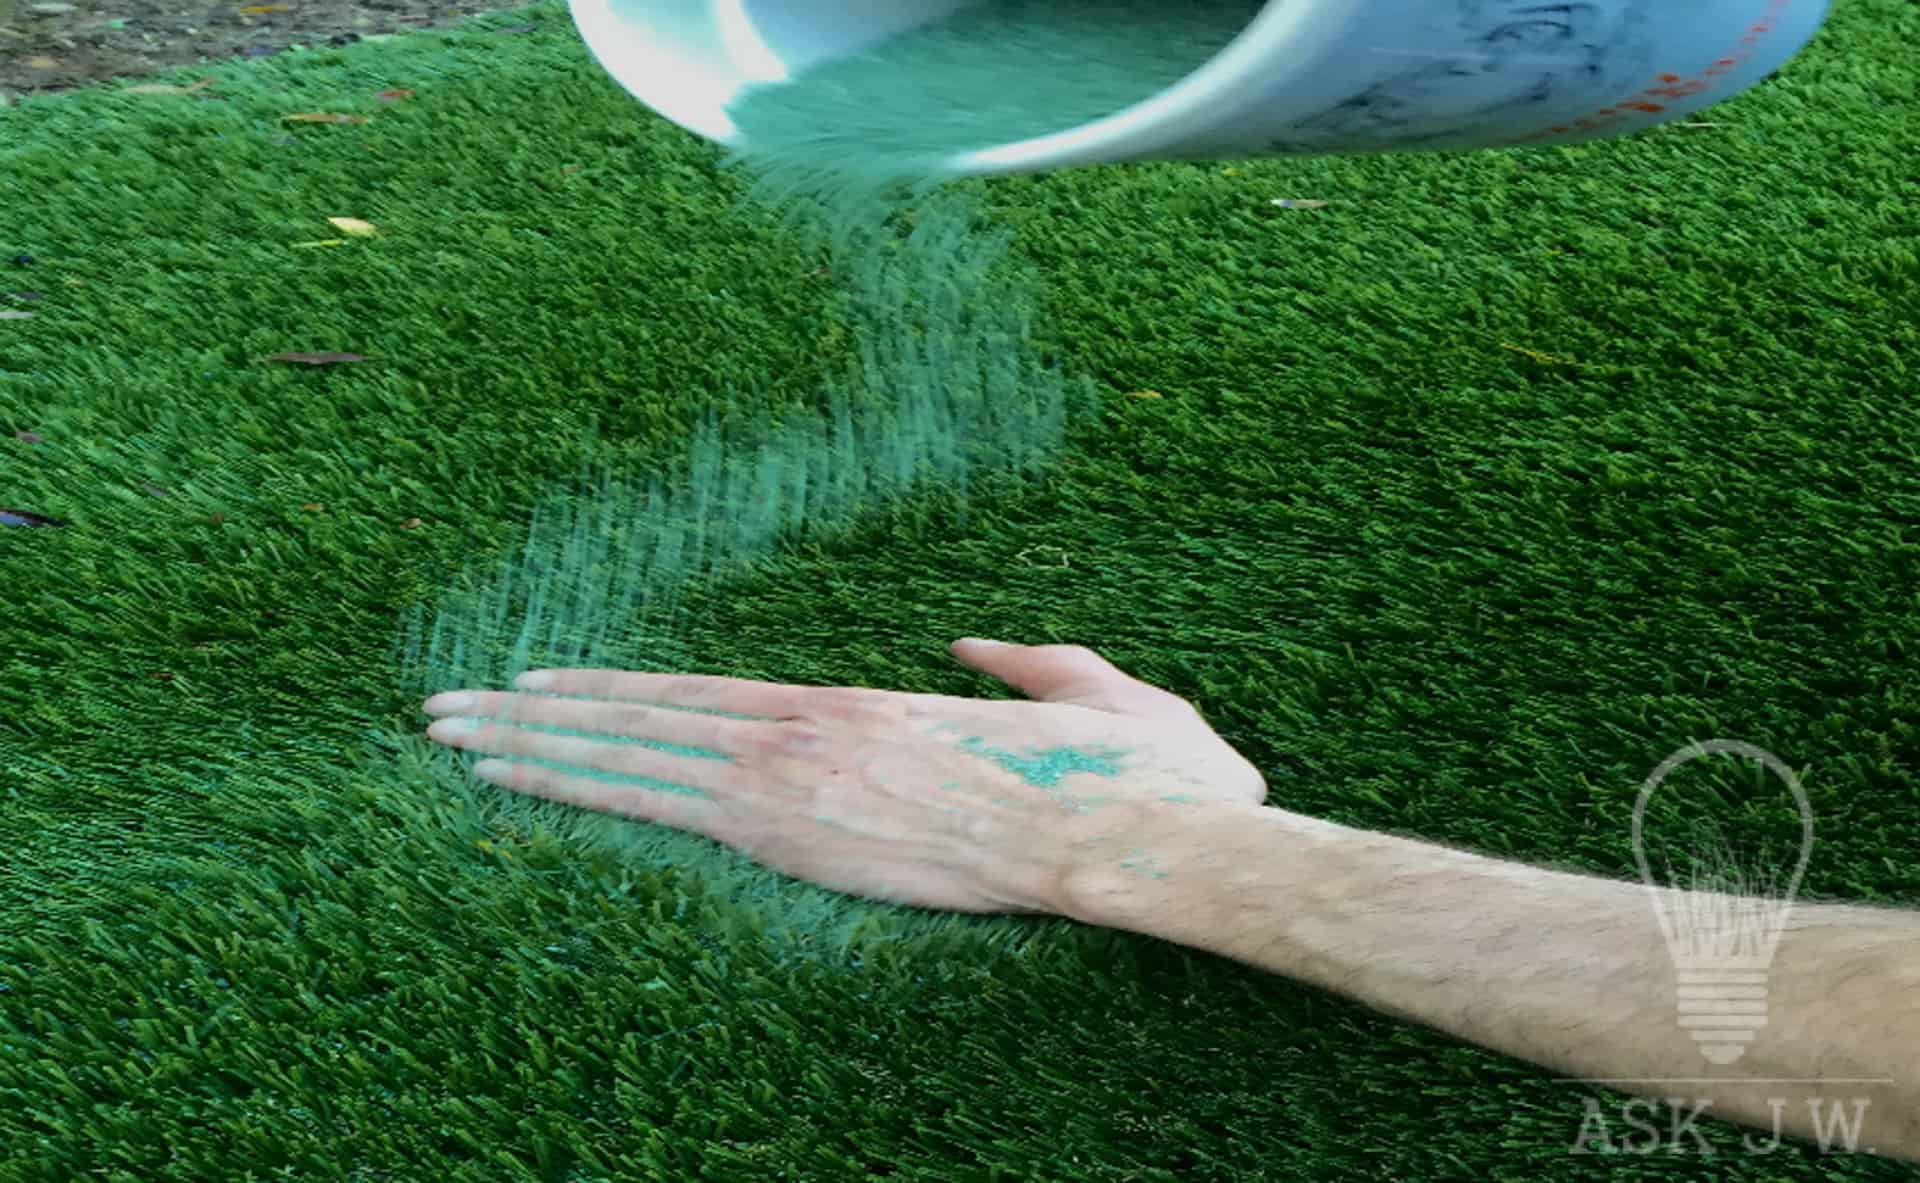
Replace the infill by hand and brush up until patch is evenly blended.
Stayed tuned for next month’s Ask JW’s series on “Synthetic Turf Repairs”
For more information regarding Power Brooms contact J.W. askjw@sgwcorp.com or call 888.846.3598
