“Stop beating up your seams!”
This is what I say to installers when they send me images of ugly seams. Most visible seams are due to abrasion and premature matting. When the installer’s heavy weight is continuously trampling the center of the seamline (center of the seam), UV Sunlight will call you out within minutes. Understanding why synthetic turf seams become visible is crucial for consistency and being a craftsman in the industry. We’re here to educate the frontline on why bending, mashing, and trampling the fibers may cause a complete “tear-out.” This month, ASK JW will explain why most seams are visible and how to prevent this issue.
Remember this: “When you manipulate, scratch, and/or matt synthetic turf fibers, UV light will reflect differently than the blades that are not.”
JW
Fiber Technology
In my three decades of being in the synthetic turf industry, visible seams are still the most recognized problem for installers today. The advancement of fiber technology and the newer shaped fibers make it difficult to prevent UV sunlight from calling you out on a poorly constructed seam.
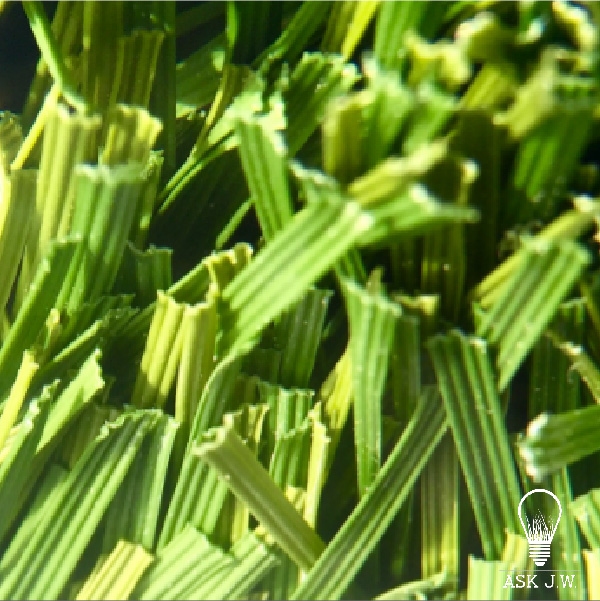
When I say that UV Sunlight will call you out within minutes, I truly mean it. The minute the sun comes up, so do the brilliant colors of synthetic turf, and so does that bad seam you rolled the dice on. The fiber’s texture/shape will depend on how the sun reflects off the face of the fiber. It is crucial to teach your frontline how the sun can make or break the Installation due to poor workmanship.
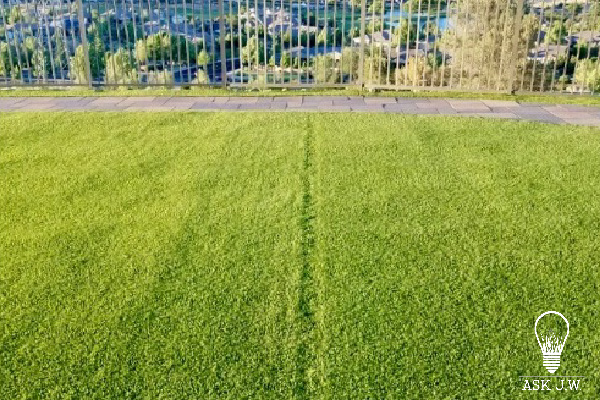
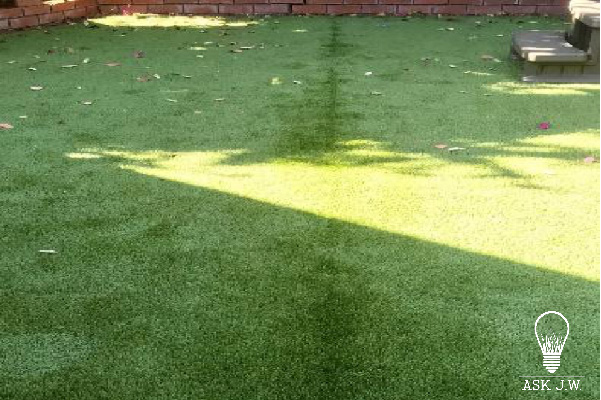
The image to the left shows the seamline (center of the seam) has been trampled and matted down, allowing the sunlight to show a difference in color. Yes, the turf is the same color, but this is what the sun does — It calls you out.
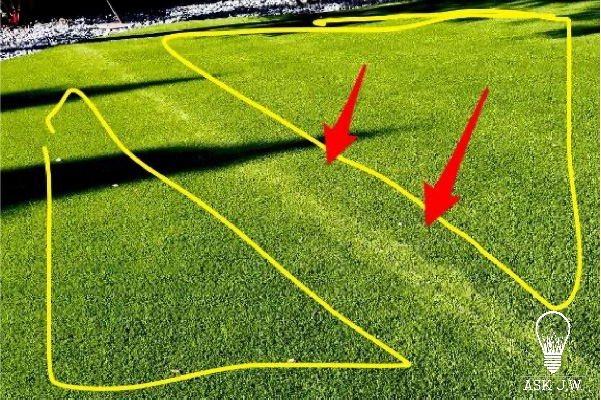
The two areas that are inside the marked yellow lines show a difference in color from the seamline.
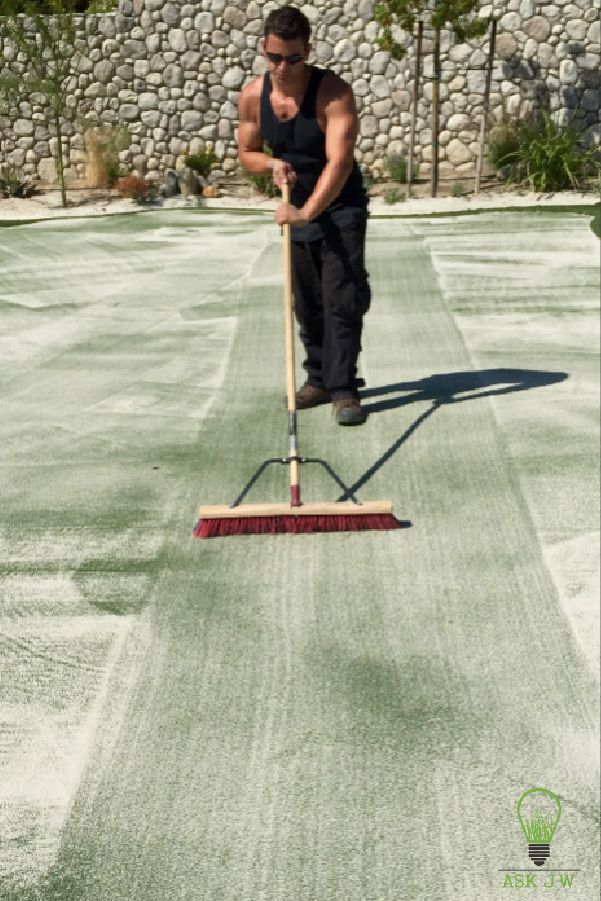
The image to the left has been manipulated, which changed the view of color. It looks darker than the rest of the installation. The seam has been infilled correctly and cautiously, which made the fibers stand vertically as they should be. This deep dark color is what needs to be achieved throughout. When this happens, you must infill and brush up the entire area to match the same. I know this may be labor-intensive, but it all must match due to overworking and manipulation of the seamline.
Remember, the more you power broom, the more you abrade the fibers, and the UV sunlight will call you out.
Body Weight
The number one culprit of visible seams right after the installation is body weight.
Synthetic turf seams should remain invisible.
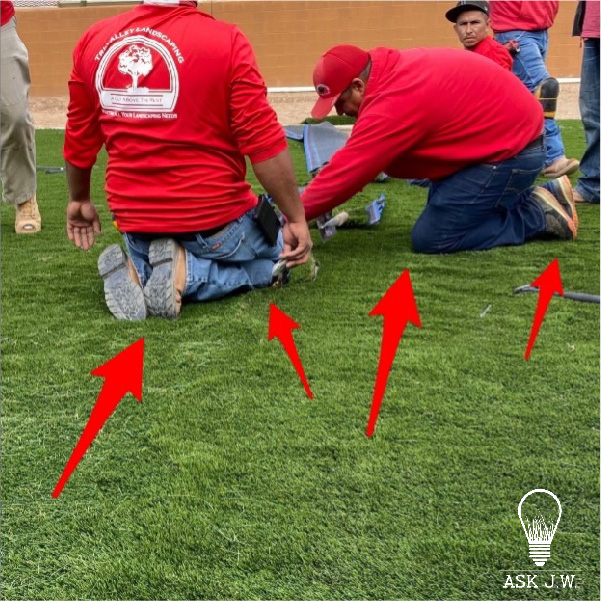
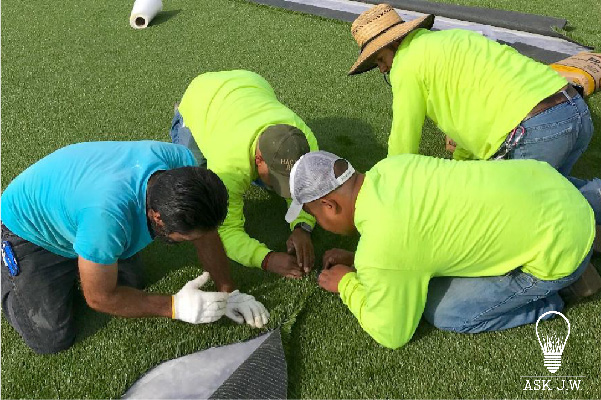
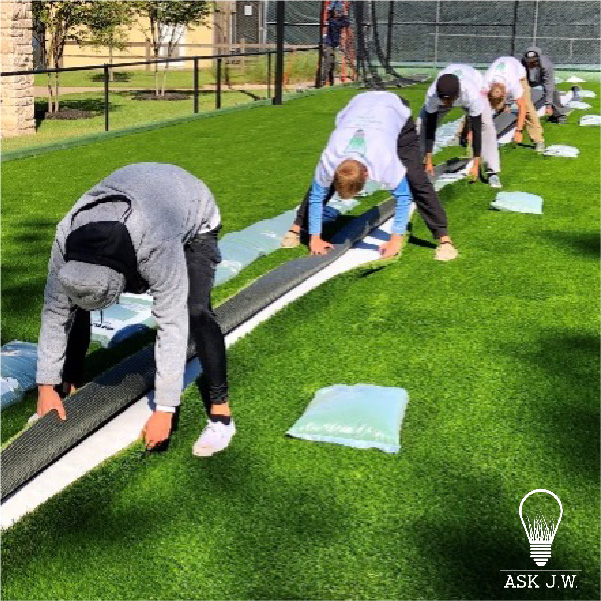
The two sections that you are seaming should go together without any manipulation. This means, “STAY OFF IT”!
Grabbing the seams’ edge can cause the seam to become visible.
Knees, boots, tools, and heavy Installers may cause premature matting, causing the fiber to lose memory slowly, lay over, and flatten.
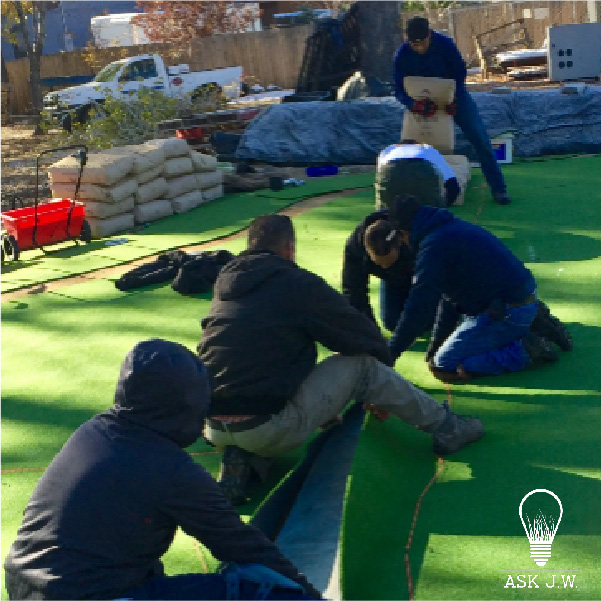
Teach your team to work like surgeons — focused and attentive. Many things can go wrong when seaming sections of synthetic turf together. This means the entire team must be alert to “fraying” of the fibers. Stay directly off the center of the seam unless you are the one performing the final closure. Ensure your team does not grab the edges of the seam when assisting the connection. It just takes a small amount of fraying at the seams’ edge for it to be visible.
Nail Heads
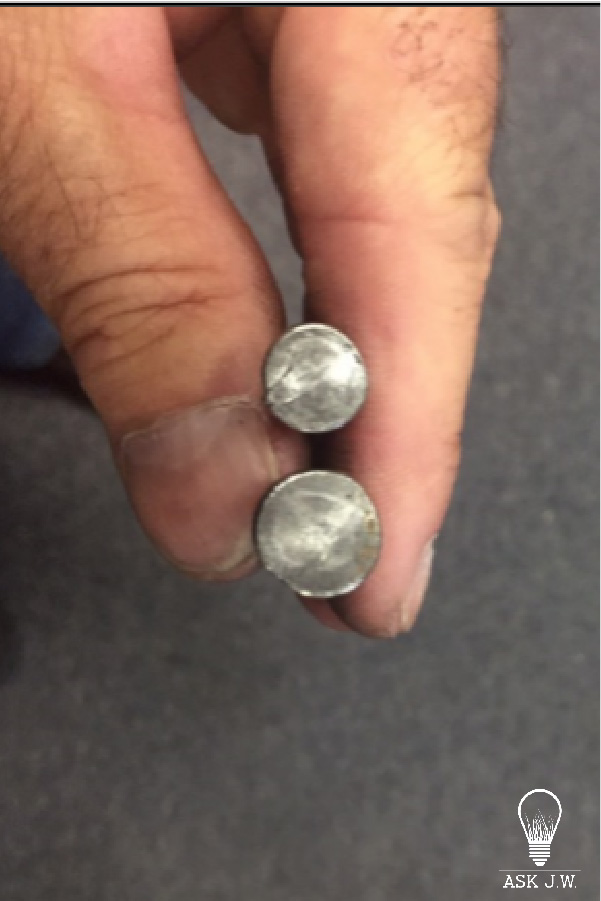
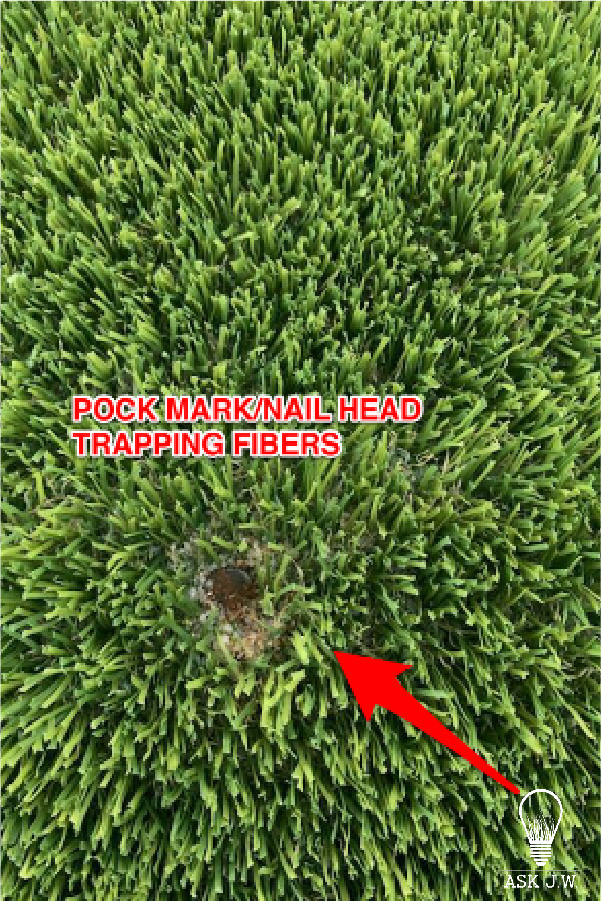
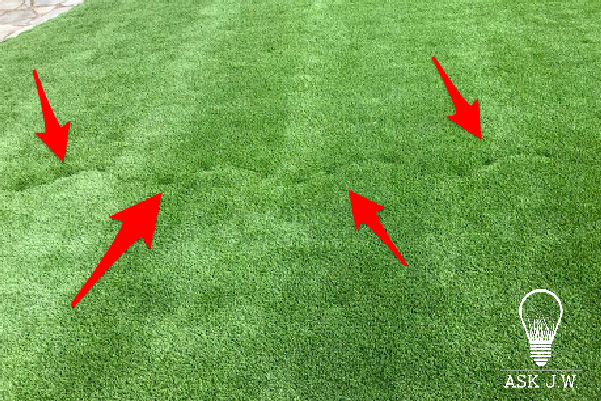
The seamline in the two images is visible due to being trampled and the use of 60d nails. Placing 60d nails on a seamline may result in “pockmarks.” Pockmarks happen when the nail’s head traps the fibers. Pockmarks create a difference in height.
I do not recommend using embeds for securing seams. I strongly recommend seam tape and adhesive for all seams.
Staples
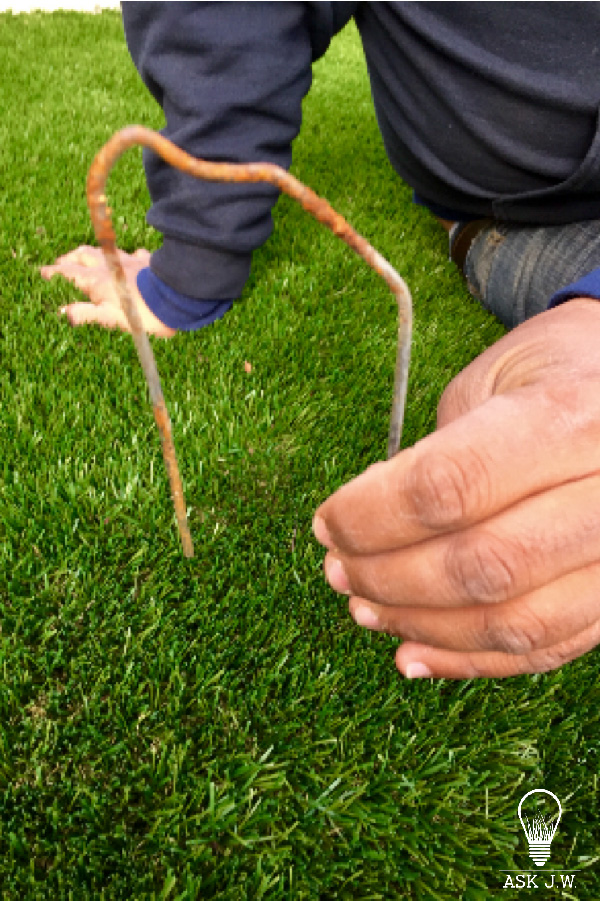
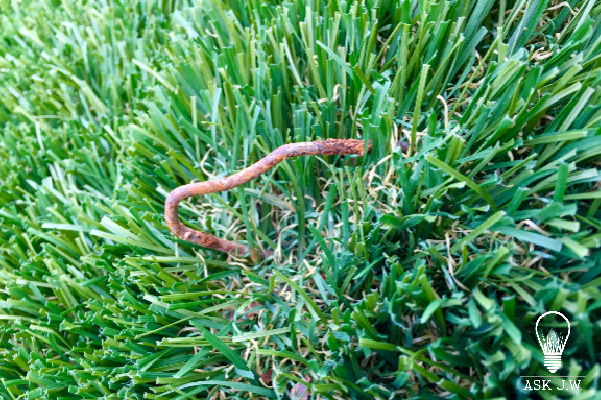
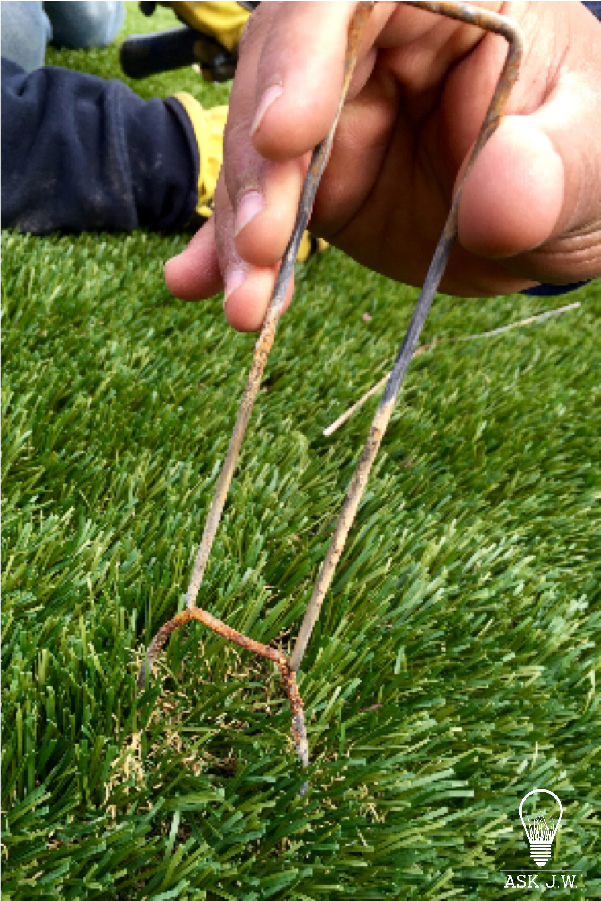
I feel using staples is the worst embed for securing seams. Staples may flare out while driving them into compacted soils. When this happens, the tines of the staple spread apart, resulting in a gap between the two sections. You may also encounter rocks like the image above left. Staples and rocks do not go together.
Here is a link to one of my columns to help you understand pockmarks.
Infill & Power Brooming
You and your team have worked so hard completing the seaming process and now must place the infill.
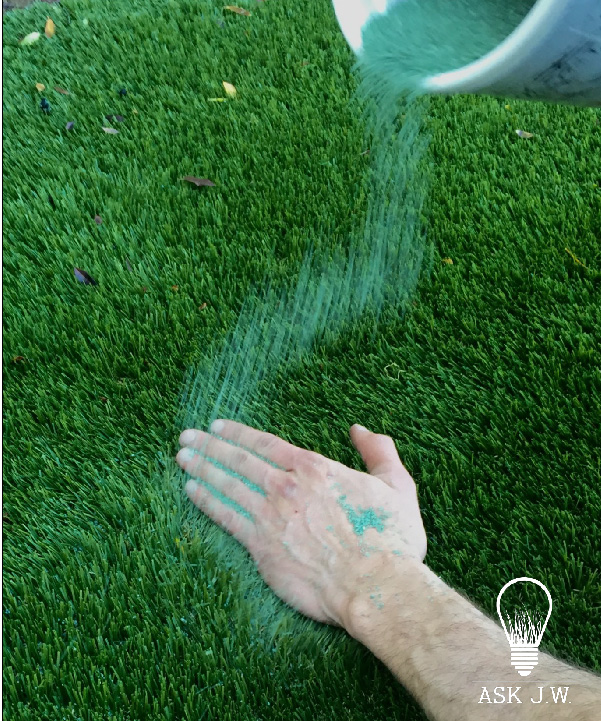
It is very important to place the infill by hand at the seamline until you have reached 50% of the infill height. Feather out the center, left, and right side while shaking infill from a small container and moving it into the base of the fibers by hand. When working in by hand, twist and integrate the fibers to assist in camouflaging the seamline.
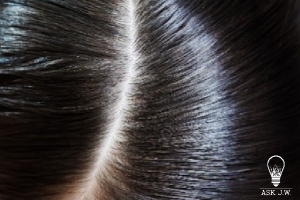
Working the infill into the fibers by machine (power broom) may cause the fibers to separate and cause the seam to be very noticeable, like parted hair.
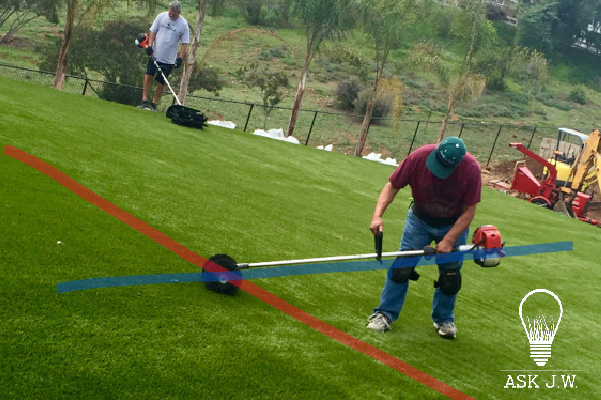
When power brooming all synthetic turf, I strongly recommend power brooming parallel 35 to 45 degrees in the direction of all seams.
The red line on the image to the left is the seamline.
The blue line is the degree of angle and brooming direction in conjunction with the seamline.
“Inspecting As You Go Philosophy”
“If you want to be the best you can be at creating invisible seams, then I strongly recommend performing the ‘Inspecting as you go philosophy.’ When you inspect your work as it is being performed, you prevent mistakes, create invisible seams, and become a craftsman in this industry.”
JW
For more information regarding head seams or would like to schedule a training or webinar, please contact J.W. at askjw@sgwcorp.com or call (888) 846-3598.
Suggestions for the use of ASK JW installation techniques are solely at the end users’ discretion; however, the user should determine suitability for the intended use by his/her own evaluation. Because the use of the materials is beyond our control, neither ASK JW nor SGW shall be liable for the outcome of any use of said materials, including any injury, loss, or damage, direct or consequential, arising out of the use or inability to use these techniques and products.
